Friends, the frustration is real. Since we last spoke, all hell has broken loose.
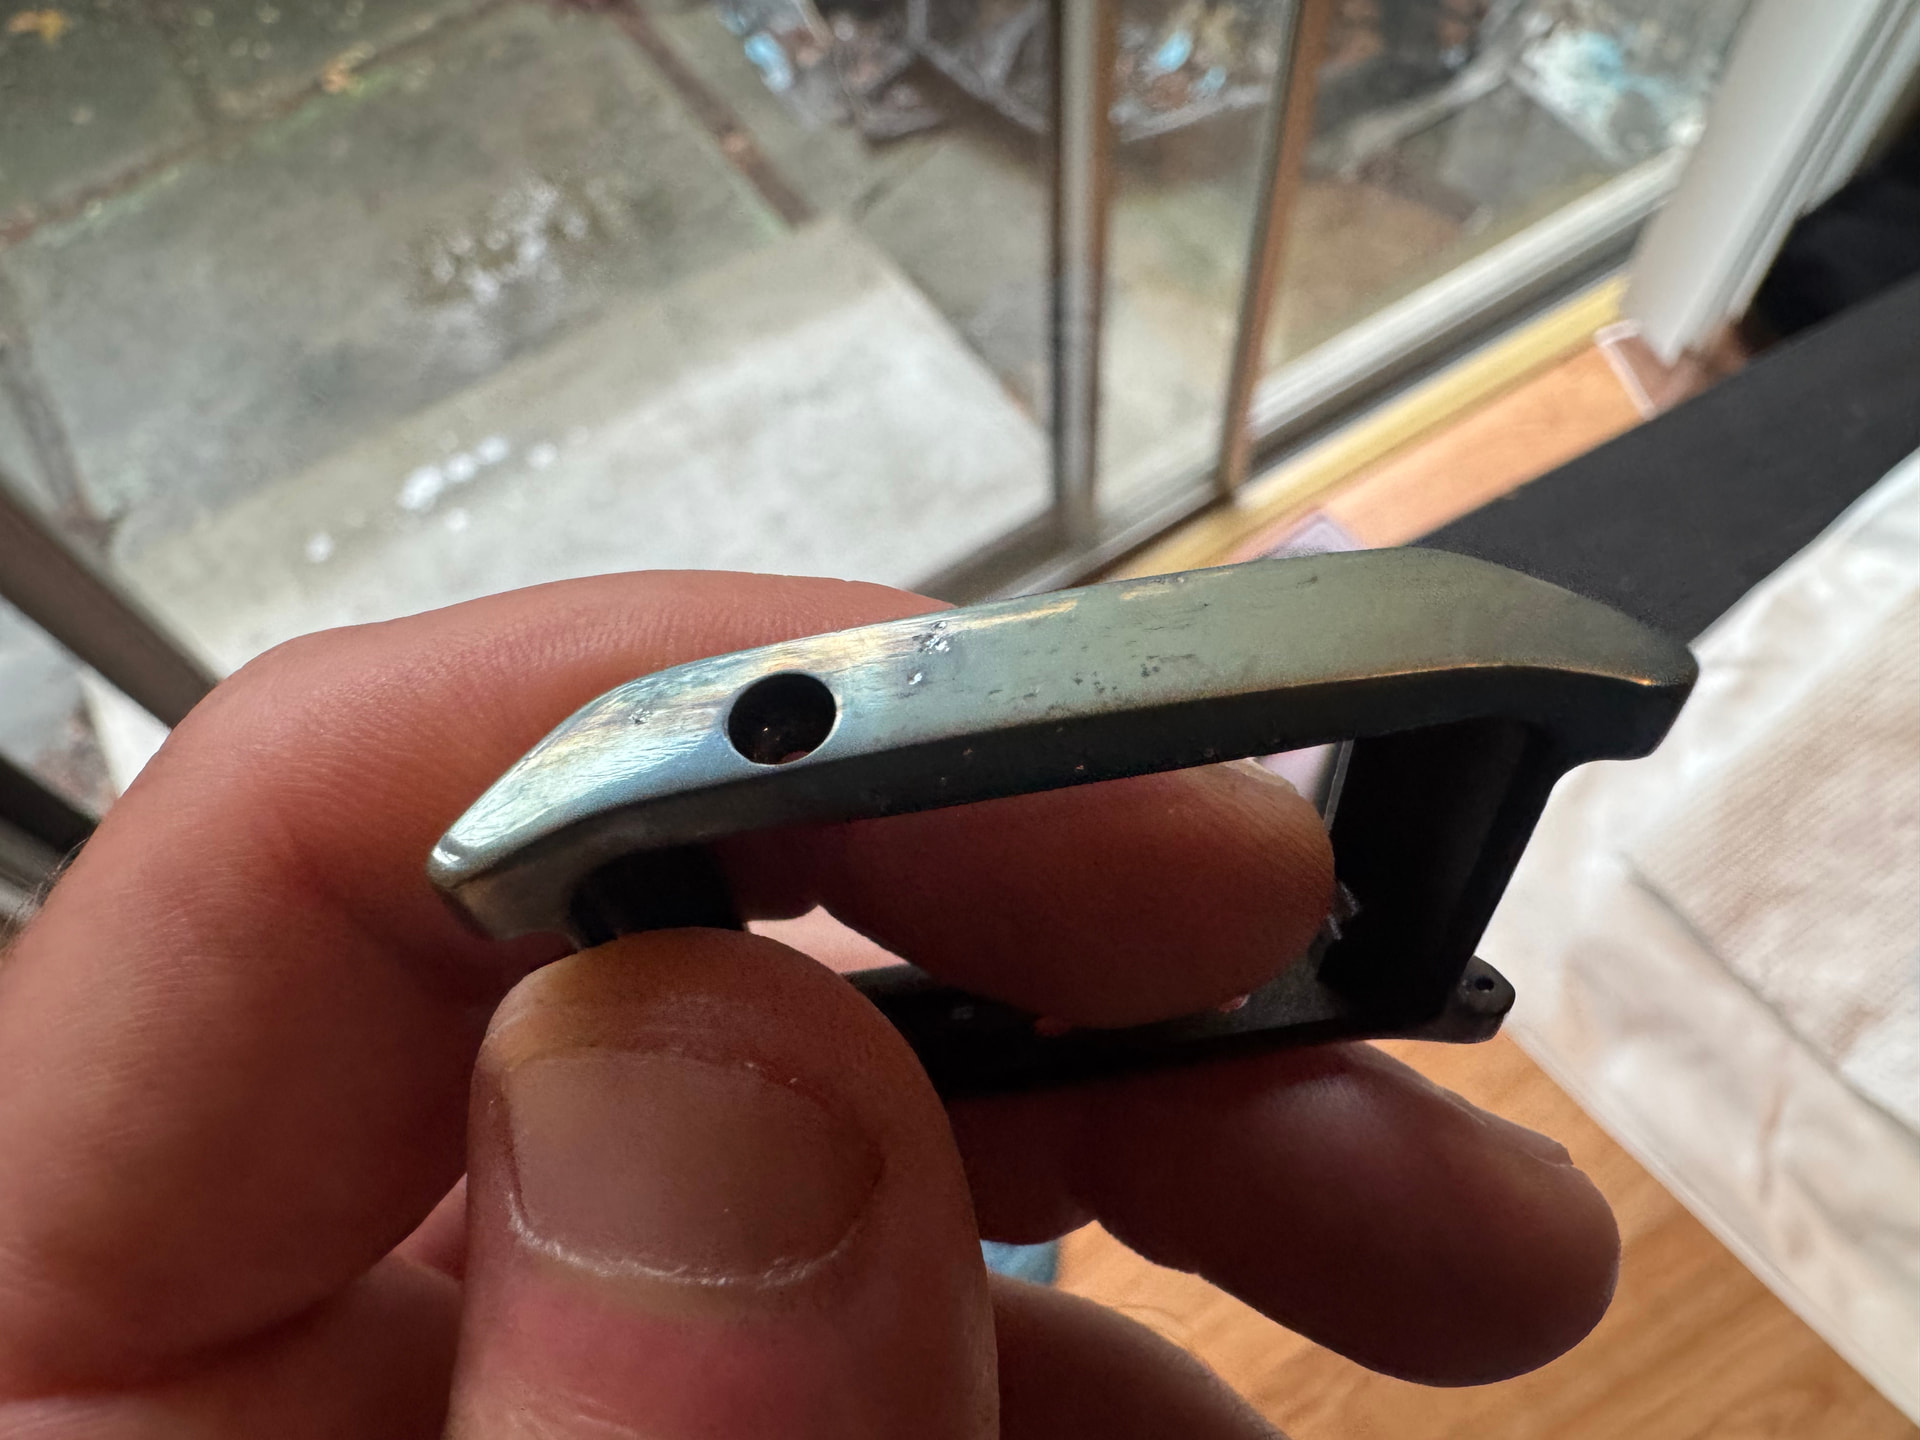
I finally got a chance a few weeks ago to unbottle the Multi-Etch, and mix up some TSP, and pour it into tupperwares, and take a crack at anodizing another Pebble. I decided I wanted to do a nice high-voltage gradient, from about 50v to 80v. I was feeling good about the prospect, so I grabbed my brand new Insta360-brand GoPro, and stuck it on a chest mount, and began recording.
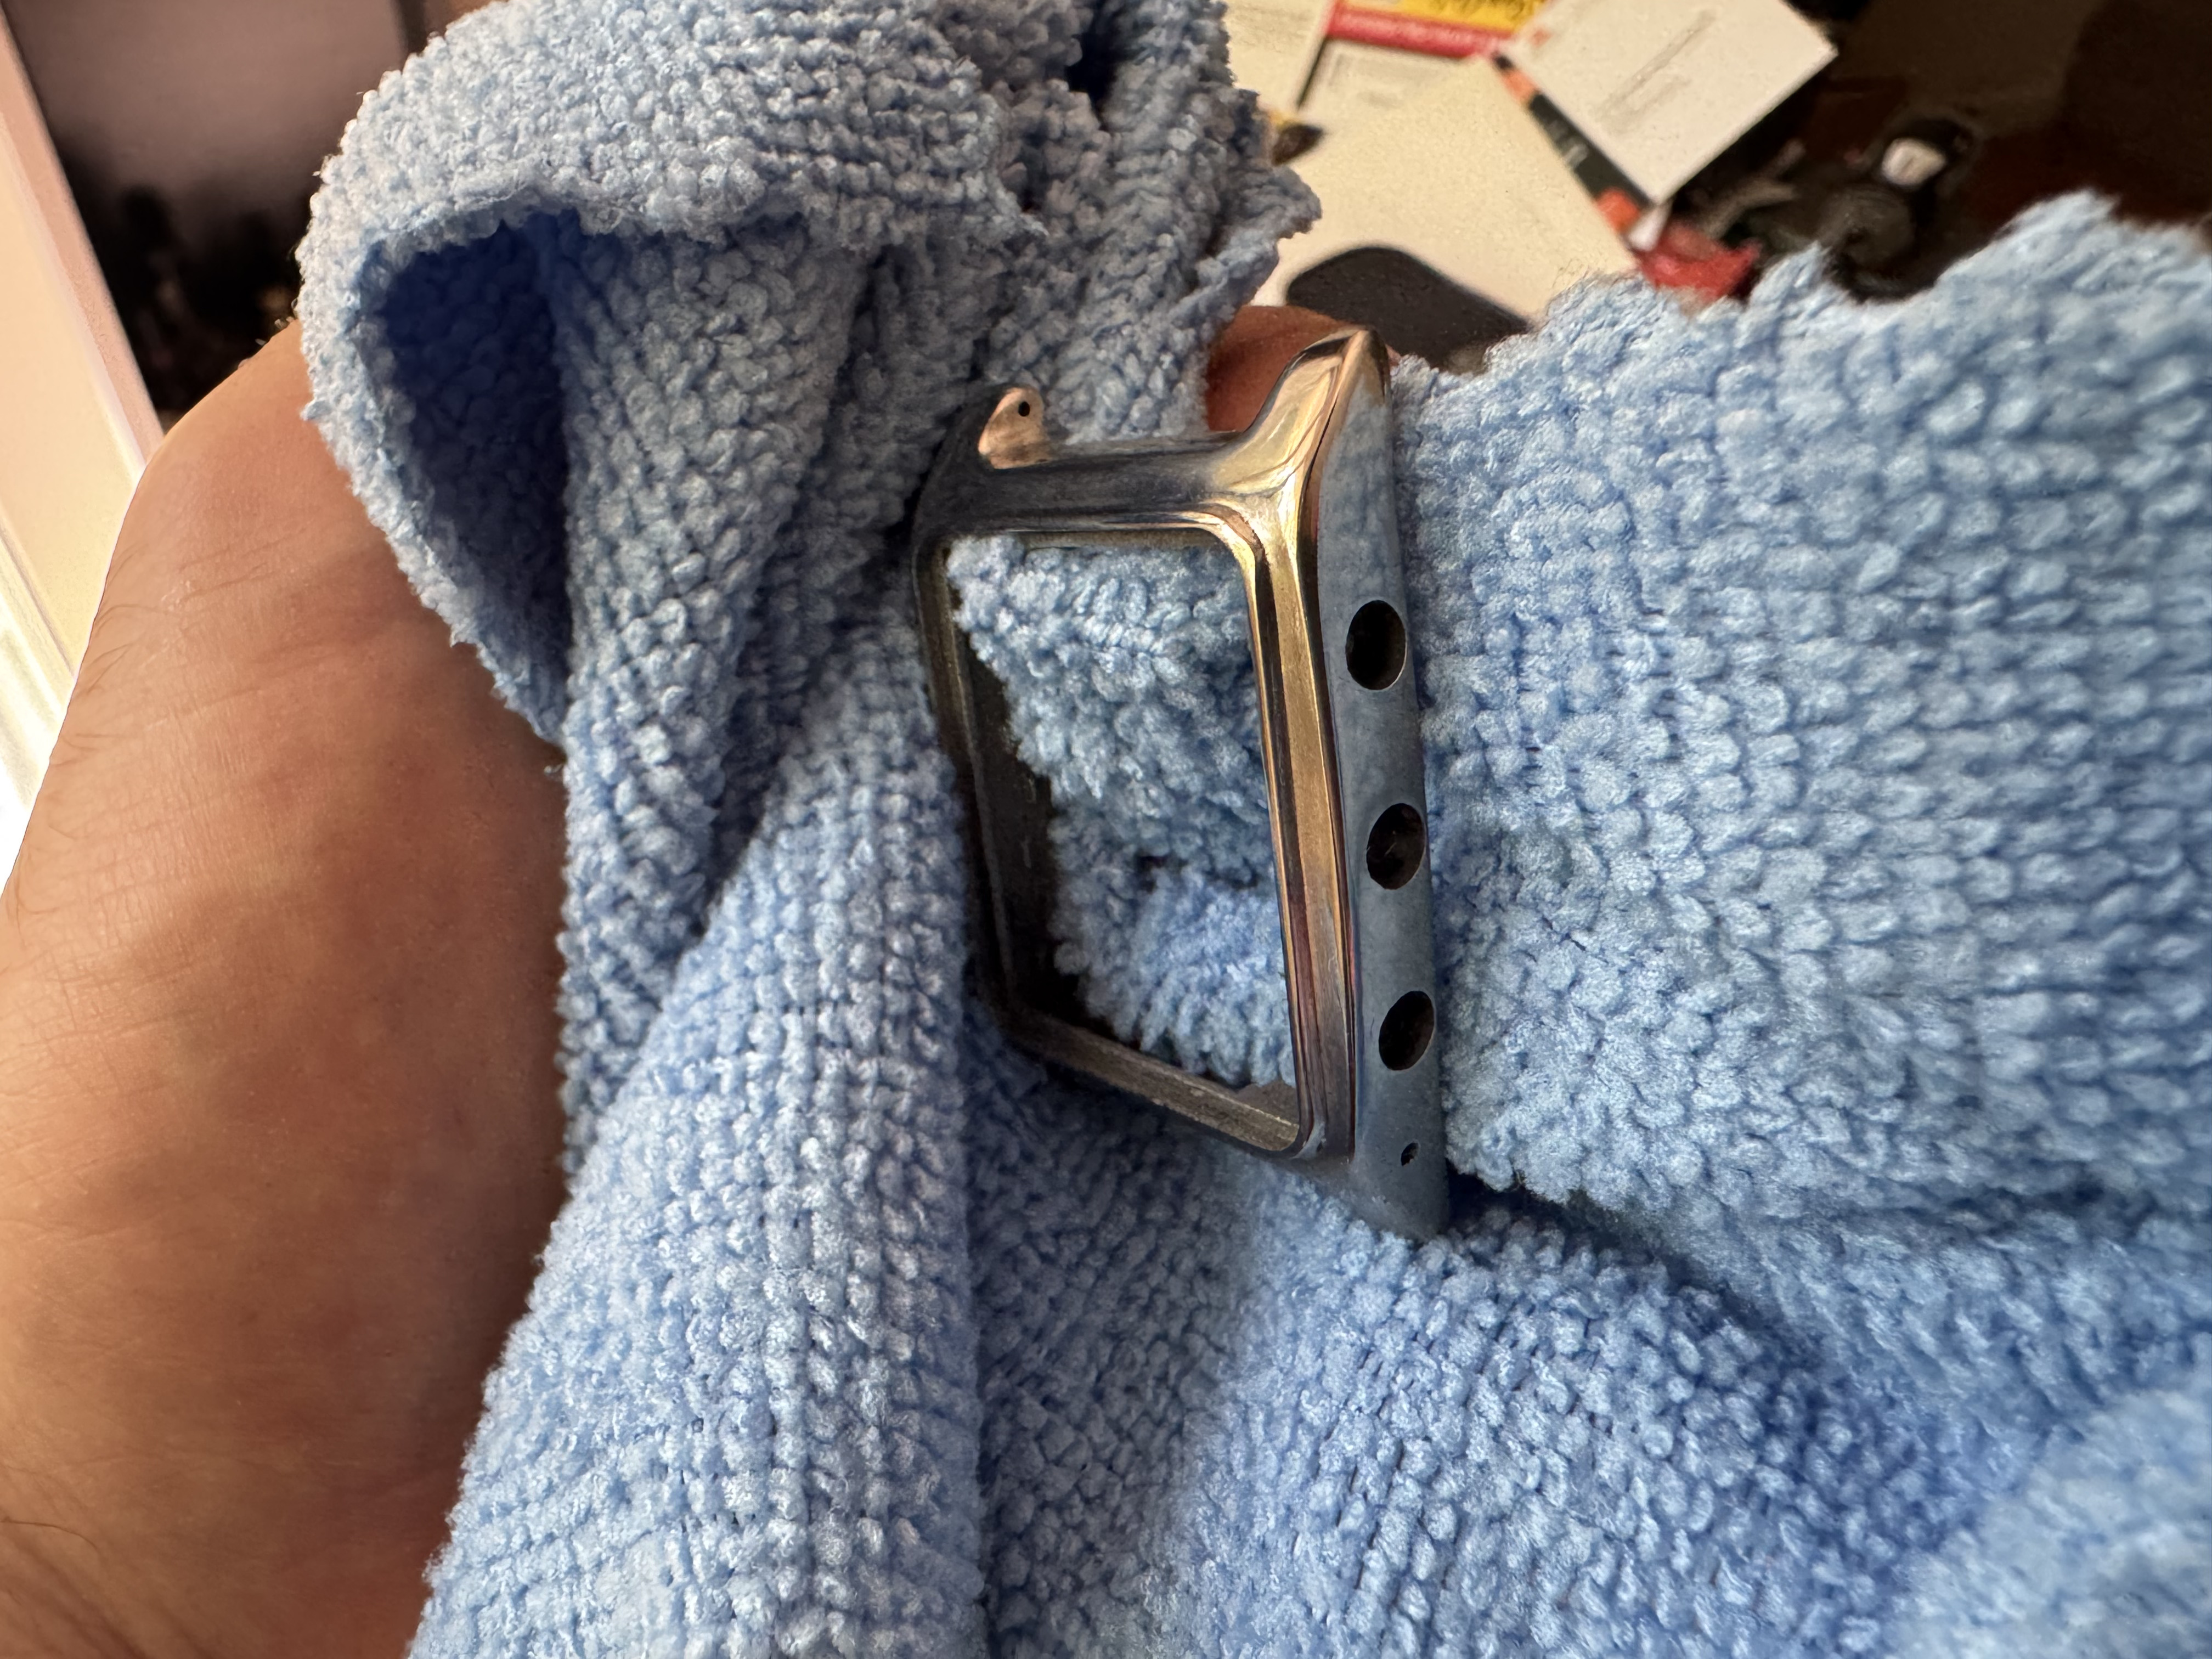
The etch was supposed to be slow at room temperature, but man, it was really slow. I gave it a quick etch, which didn’t seem to do much, so I gave it a heavier etch. Then, I put it in the TSP tank. I got a light coat on it, but anodization stopped at about 5V. Not good. I went all around the thing, and managed to get an uneven anodization if I dunked some corners in, but I couldn’t reliably anodize the whole thing. There were definitely metal inclusions.
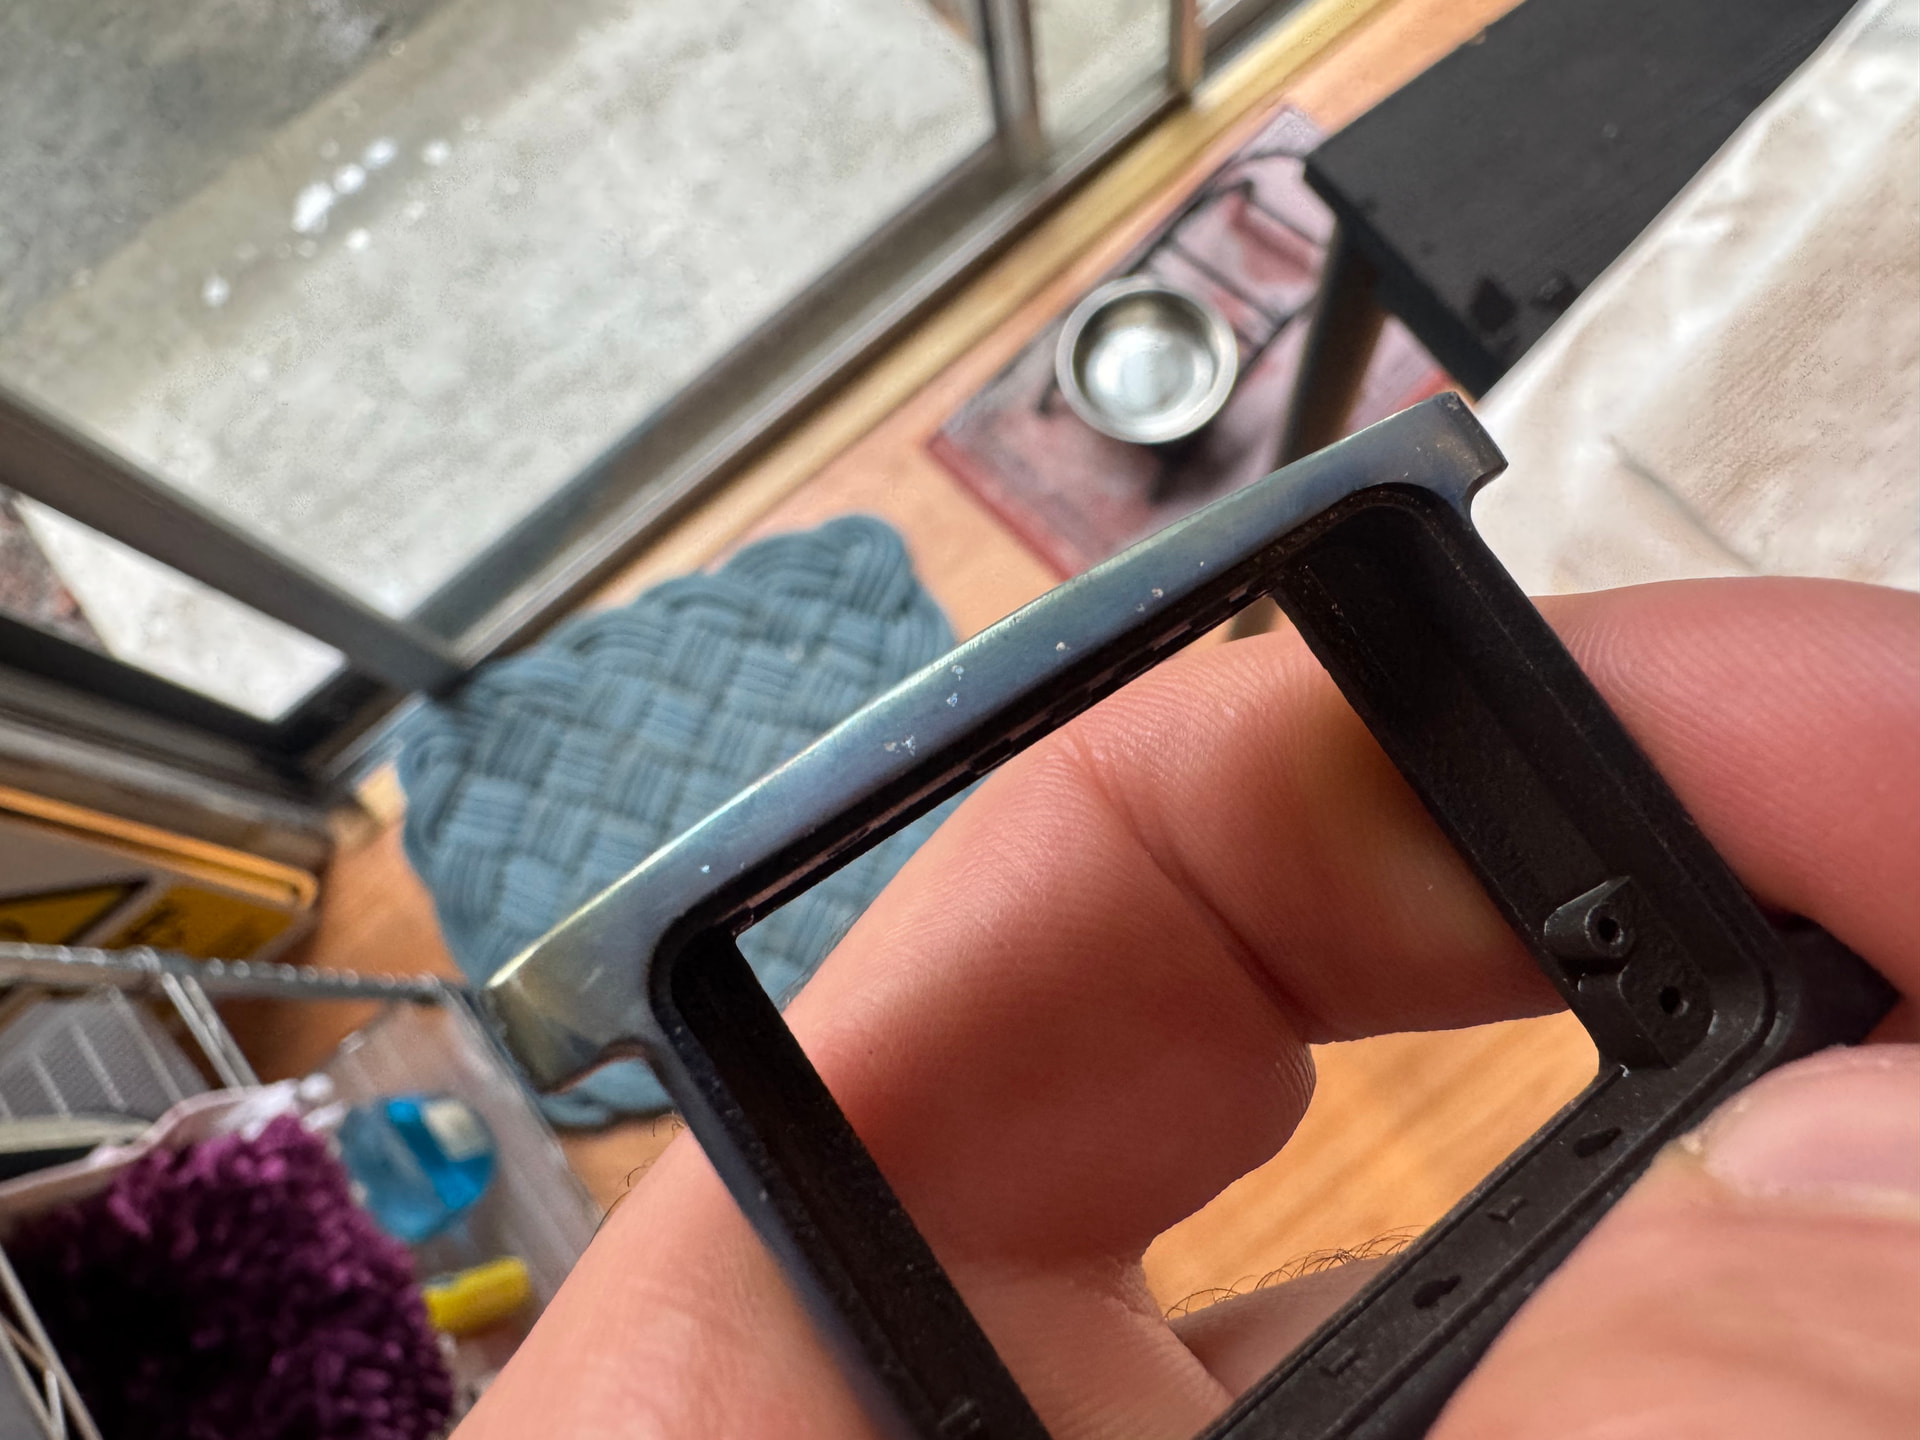
I took a crack at blasting out the metal inclusions and trying to reduce them directly – I turned the power supply around, and cranked the current up. The only thing I got from that was… bubbles. Lots of bubbles. I flipped it around one more time and turned the current up in the hopes of getting some colors around the little inclusions, and… well, they stuck out pretty seriously.
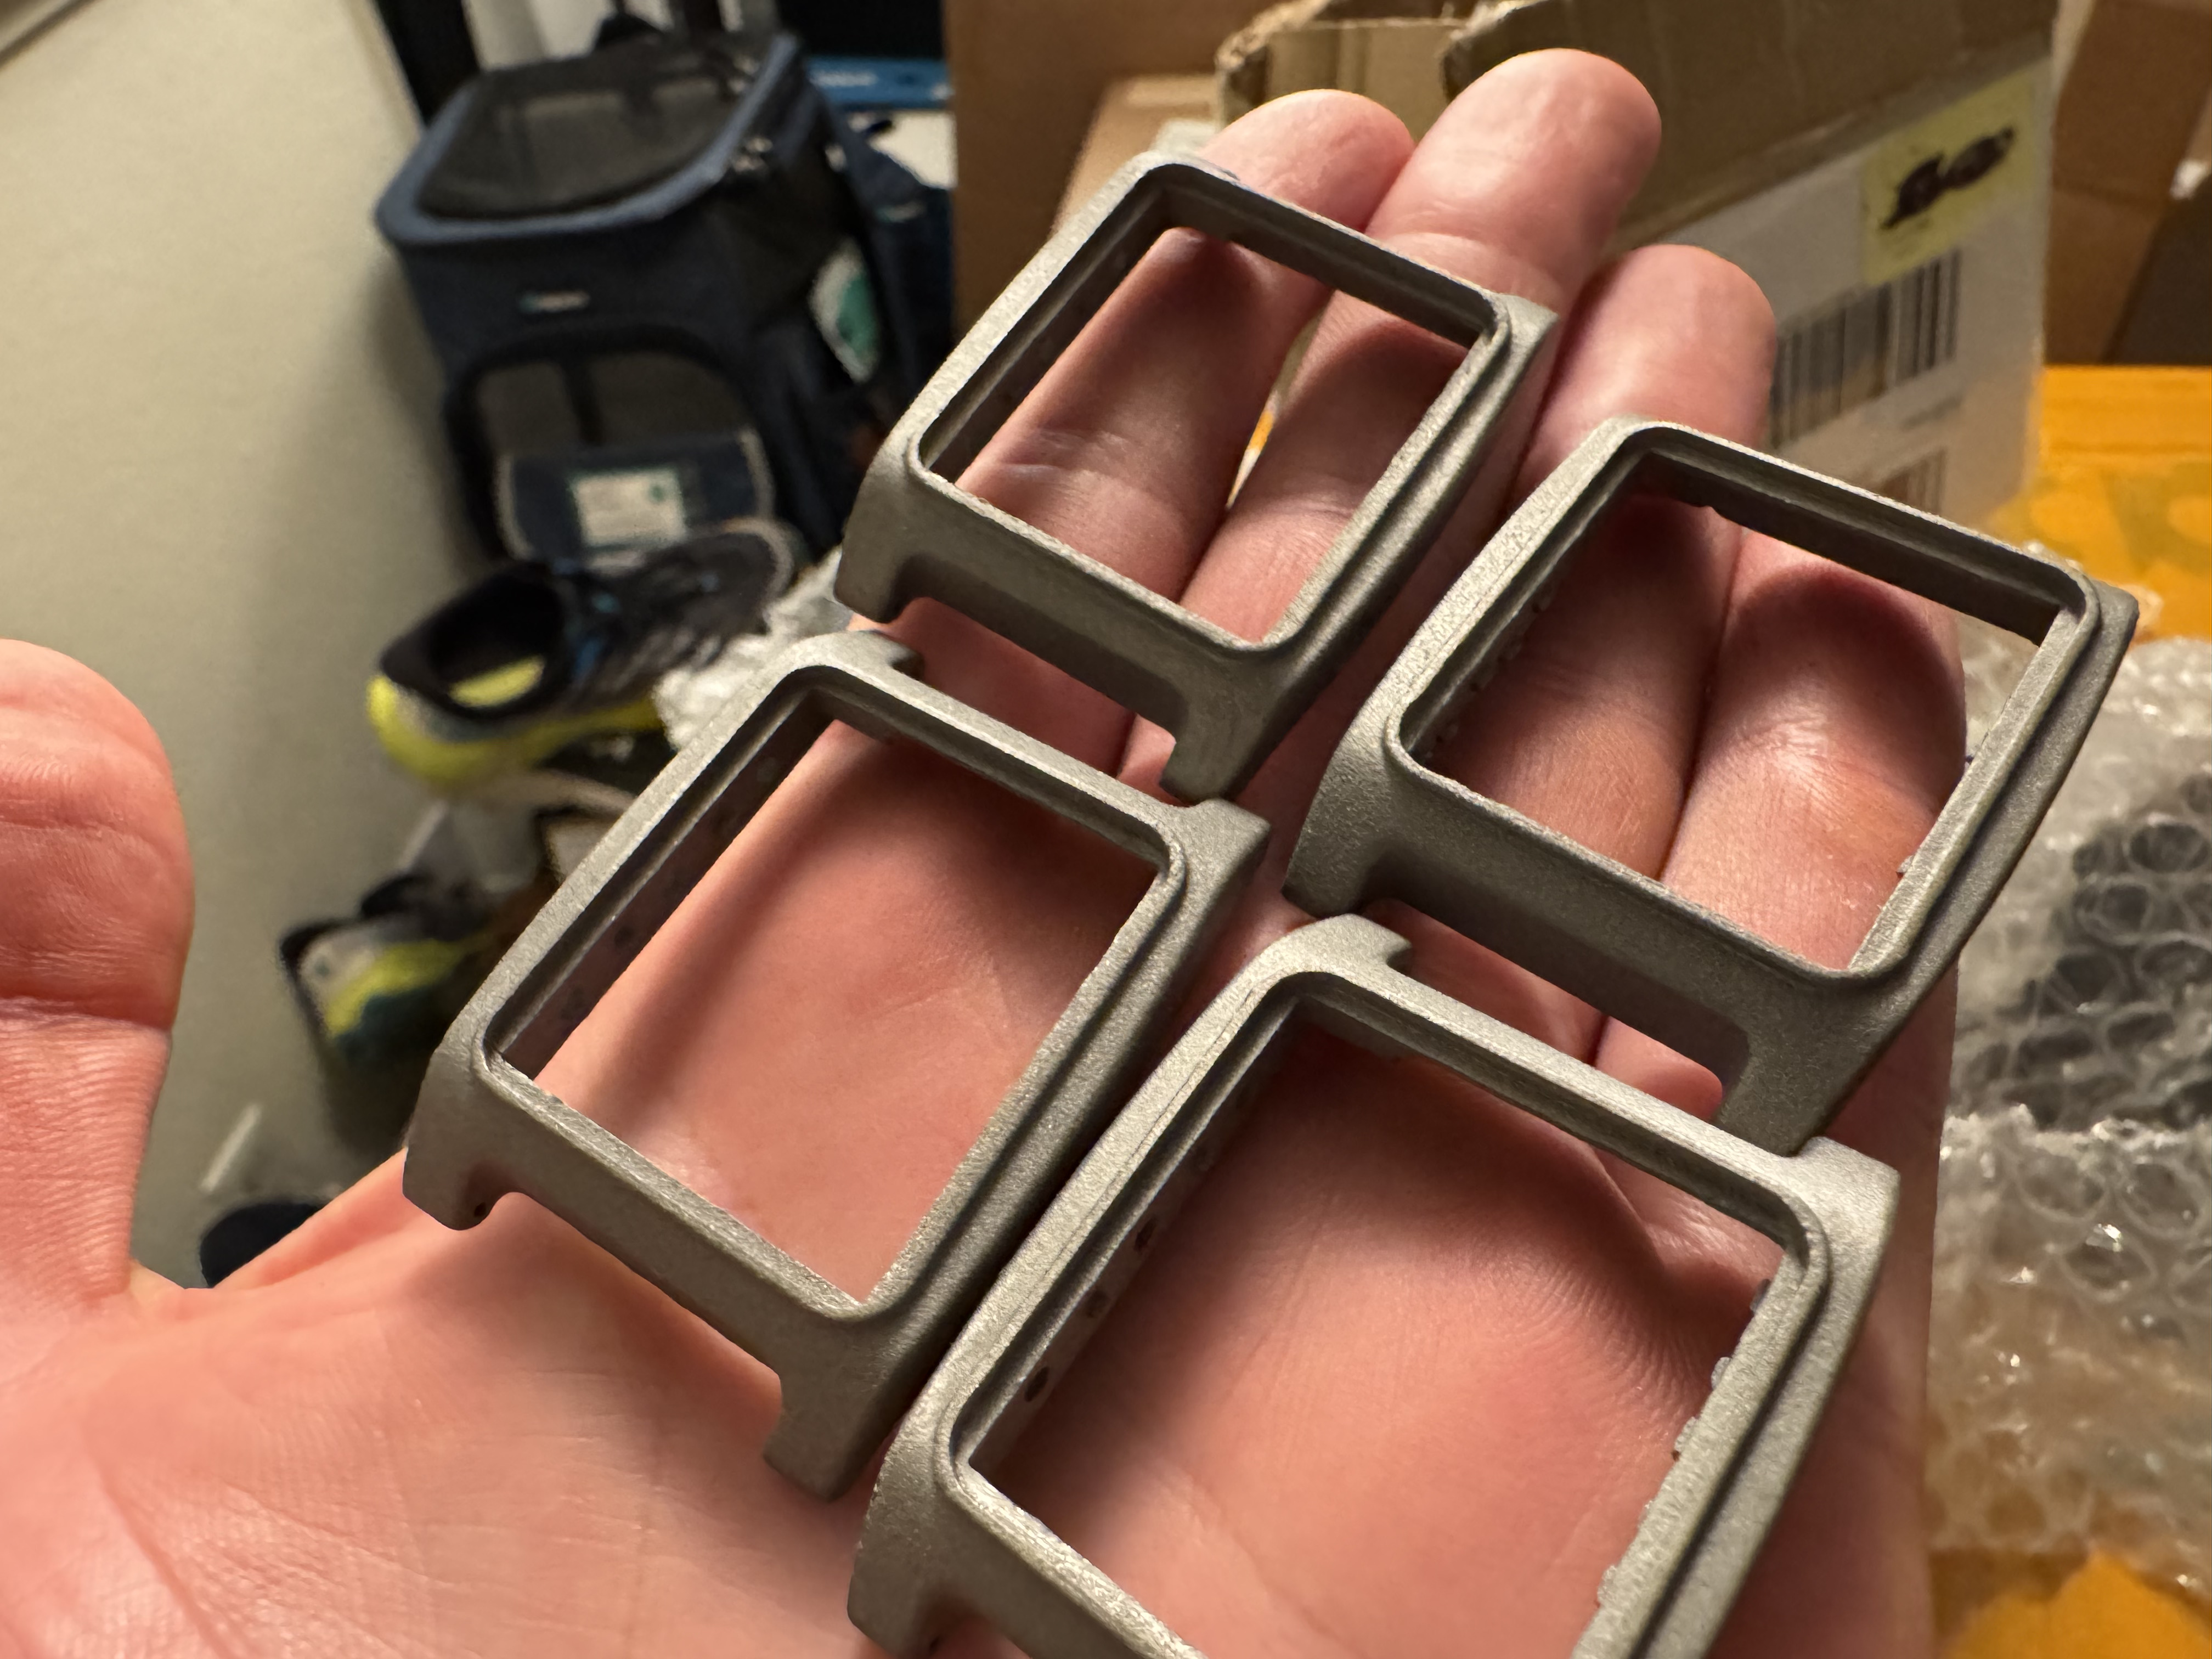
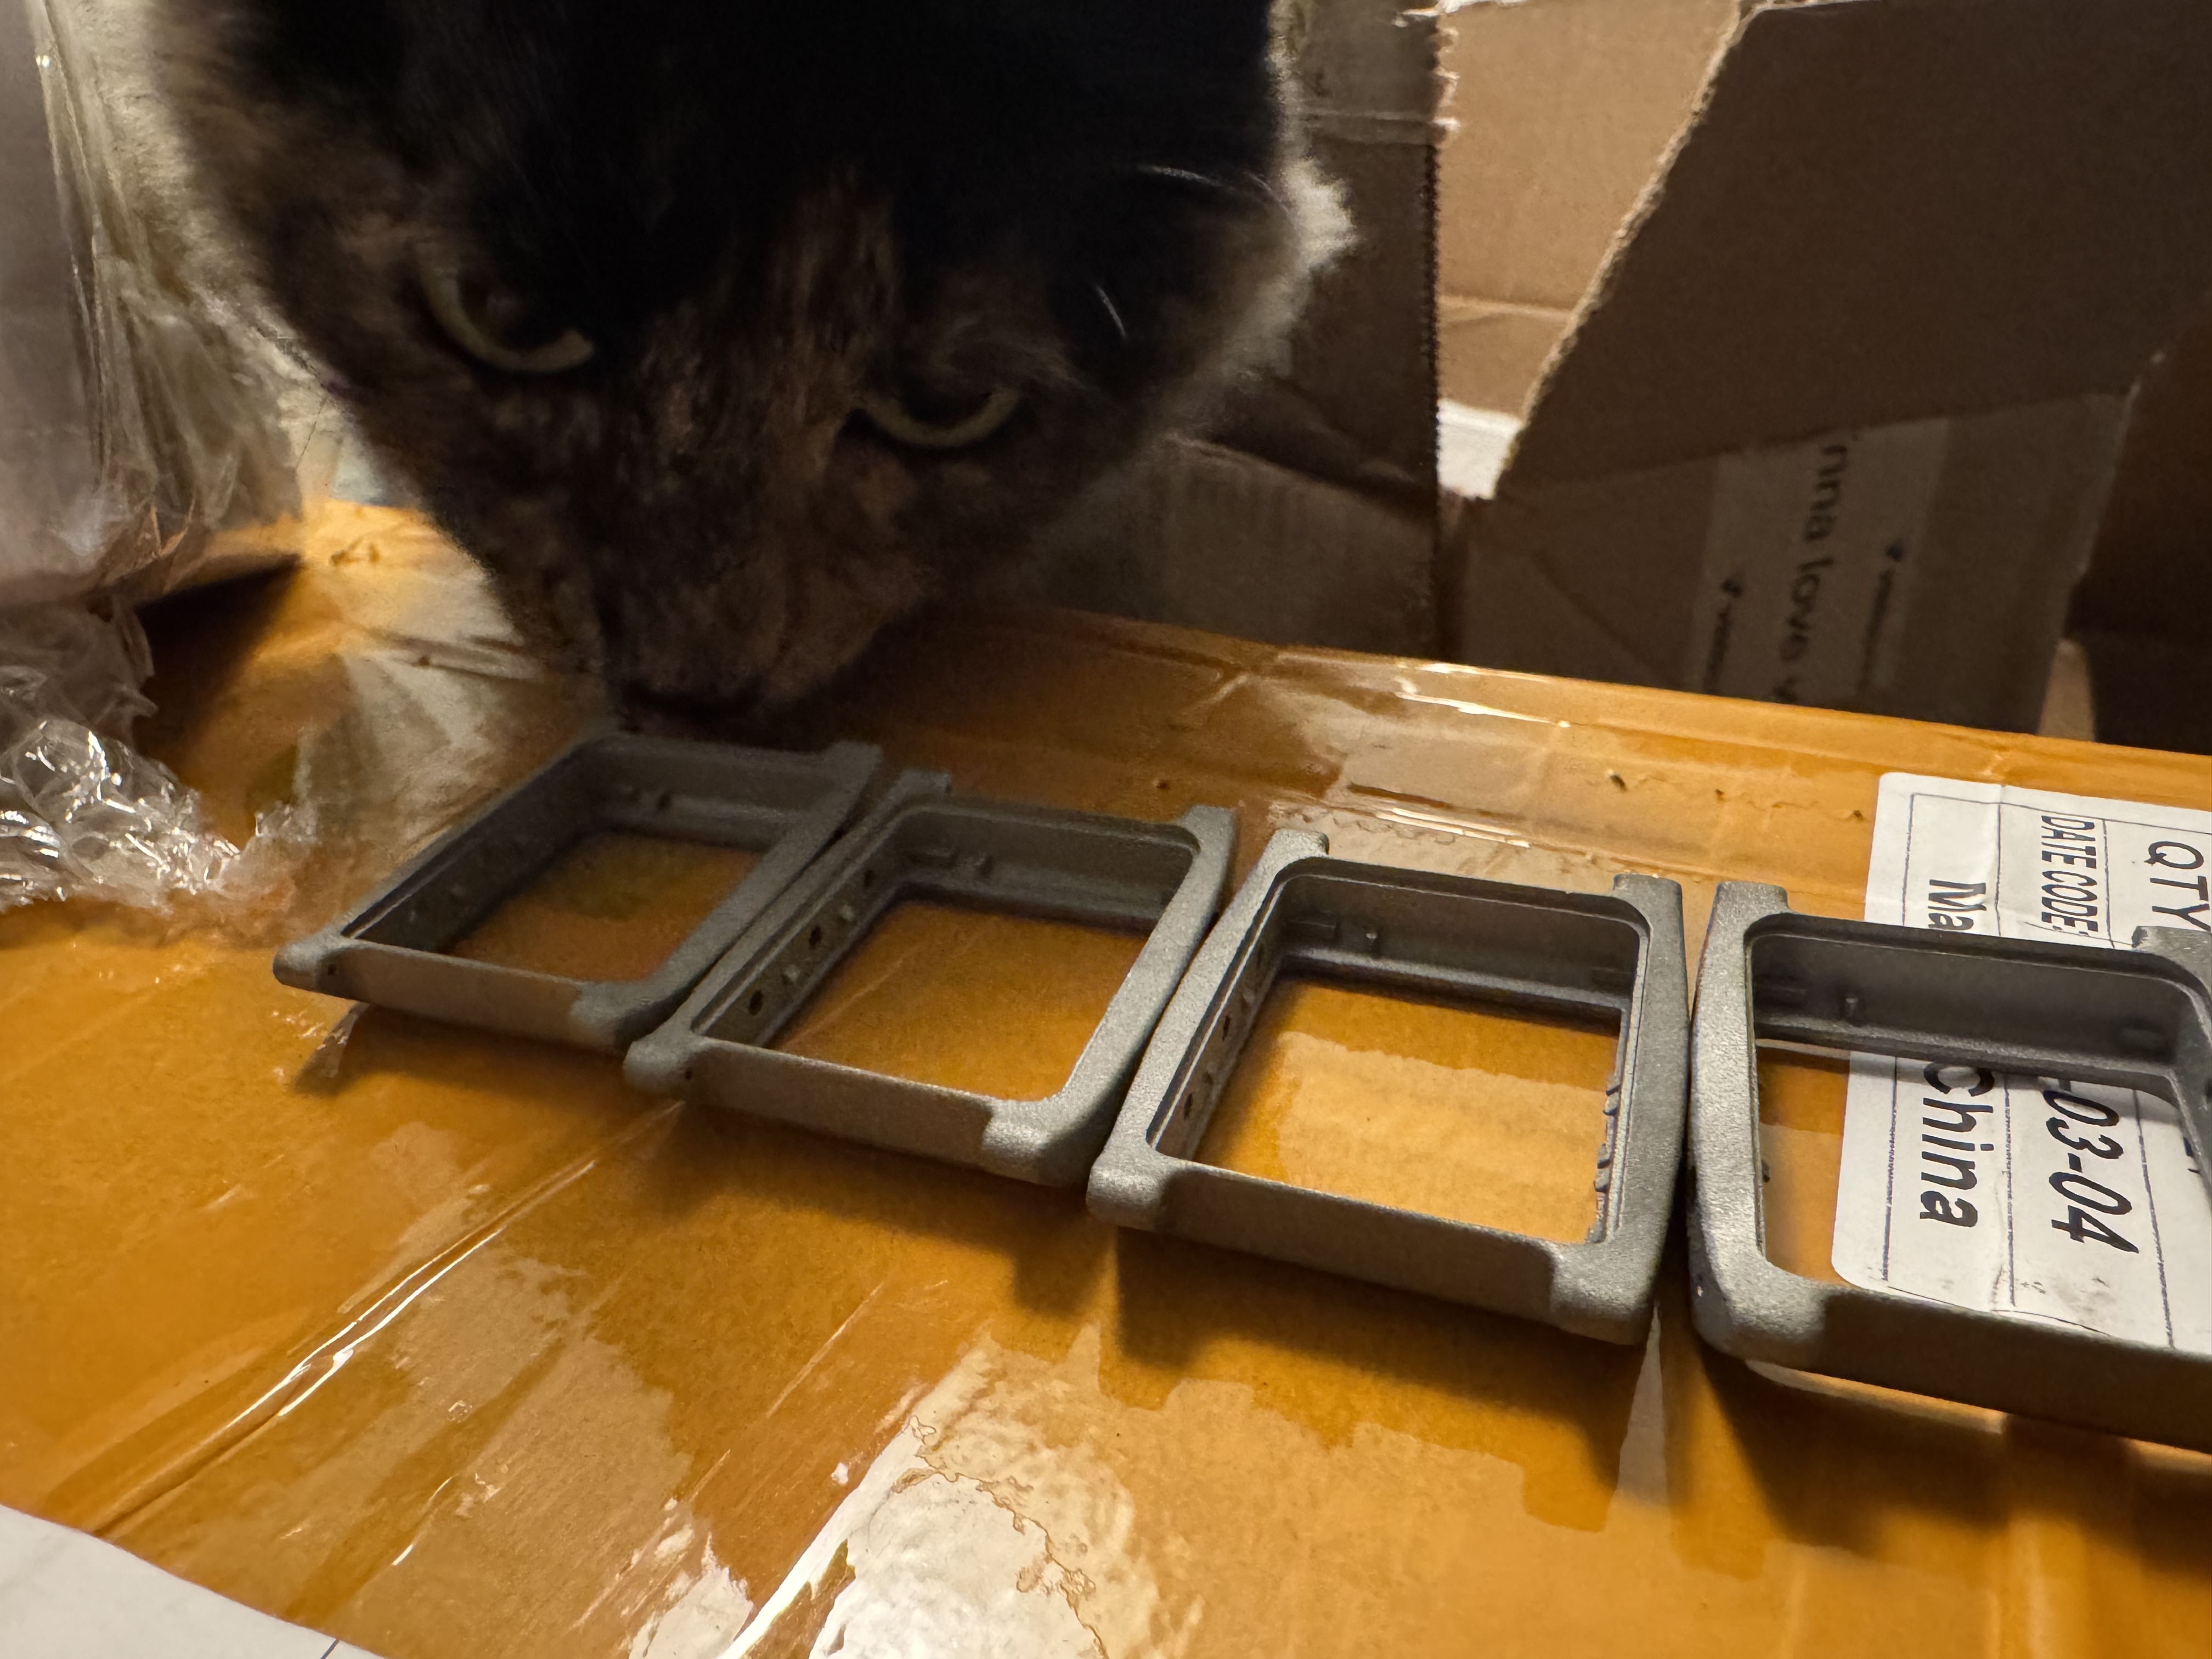
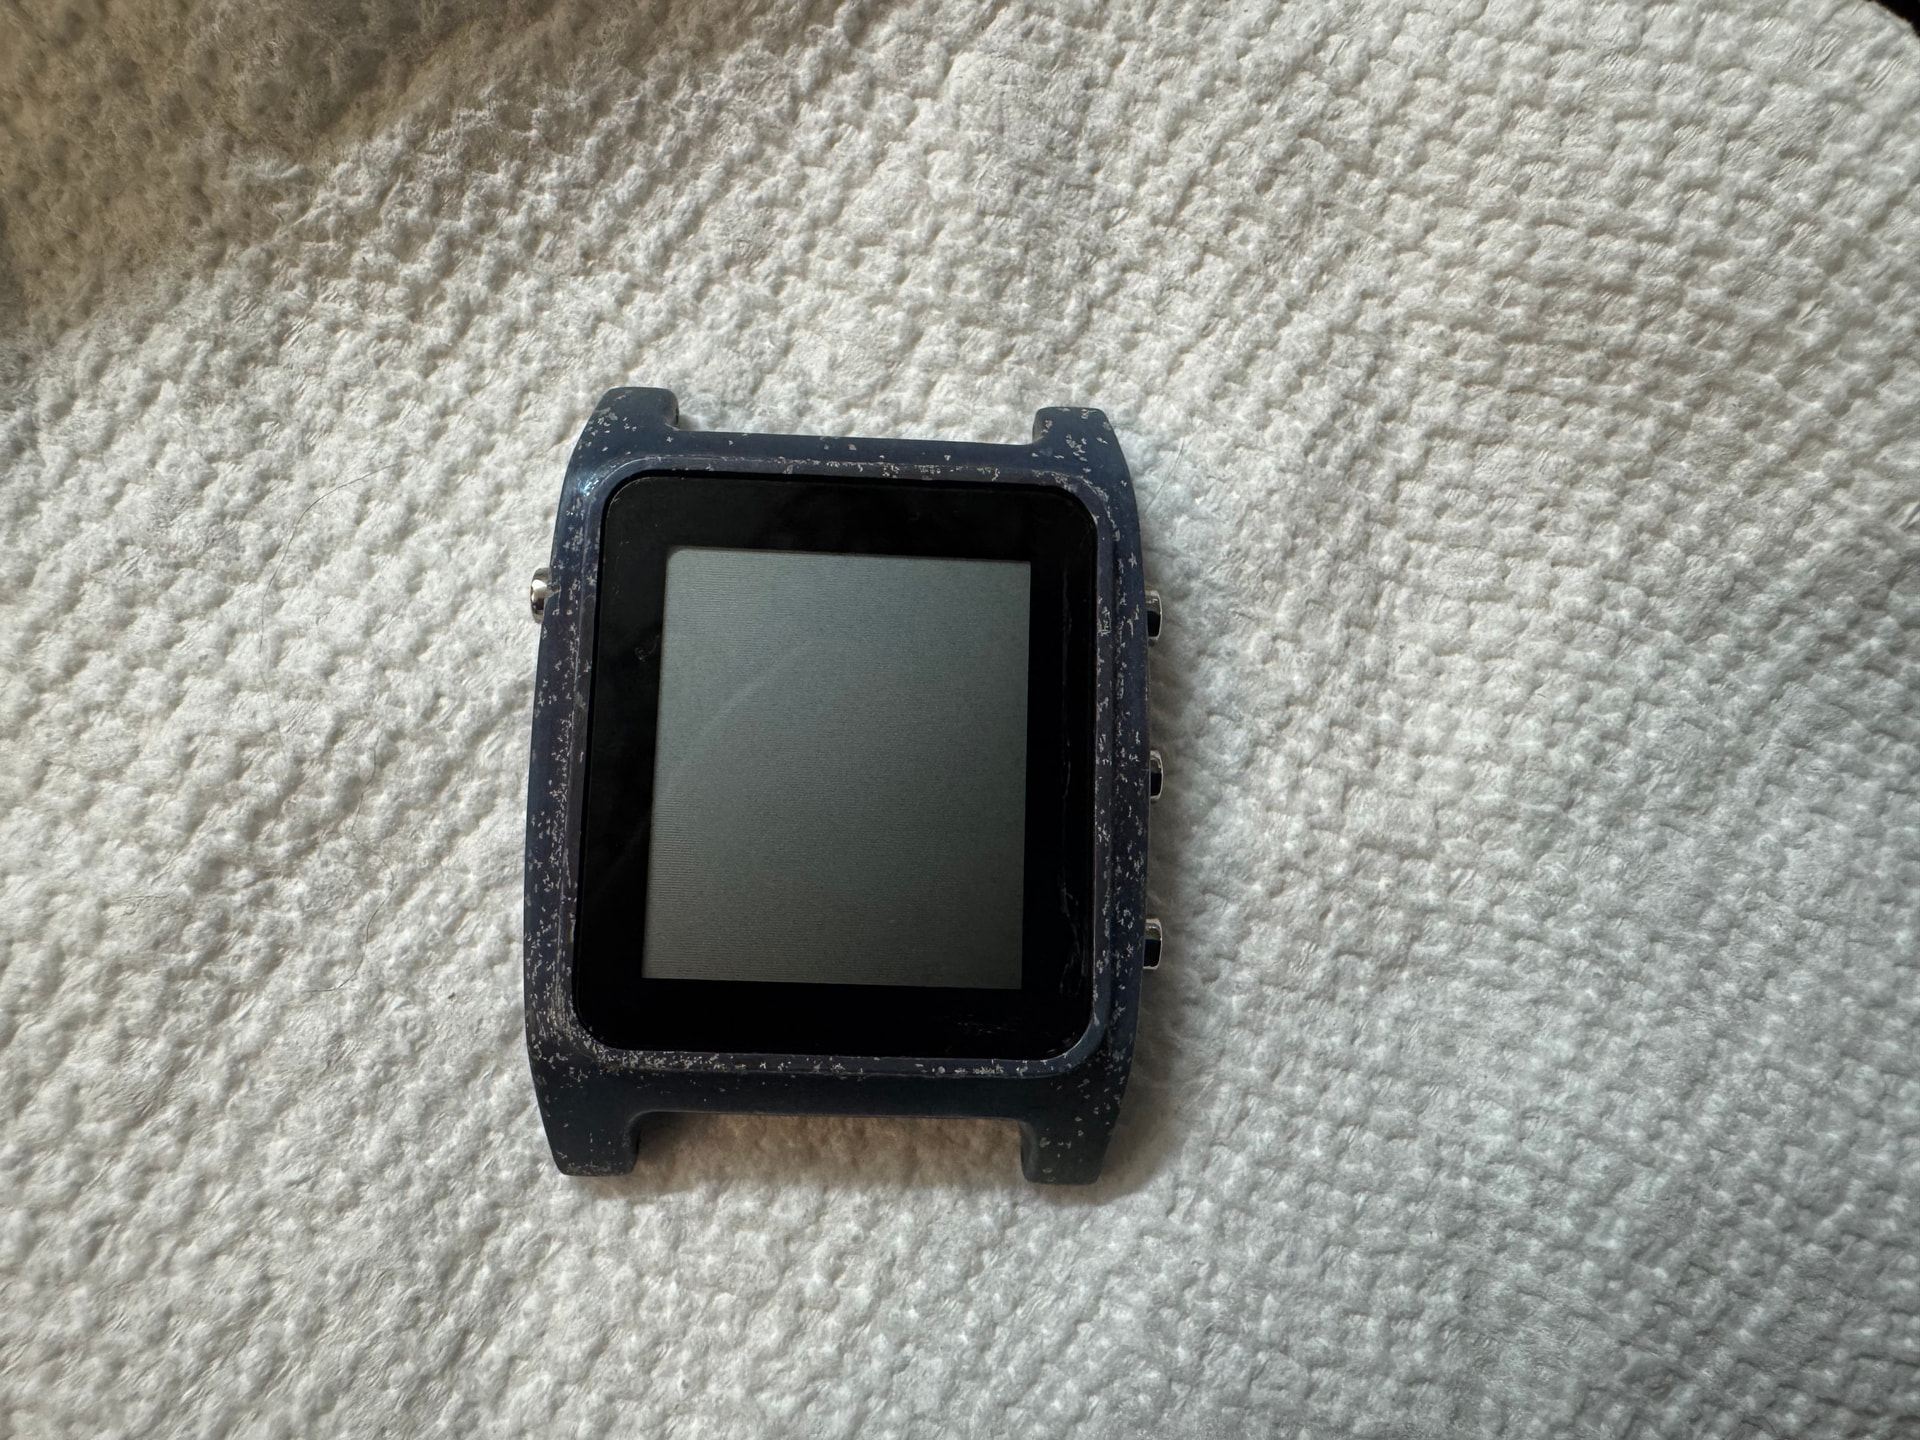
The pitting was really deep. It seemed as much as like 100um deep. This didn’t seem like something I could have screwed up myself. As far as I can tell, I think this is a contaminant in the sintering process – maybe some steel particles that got in with the titanium.
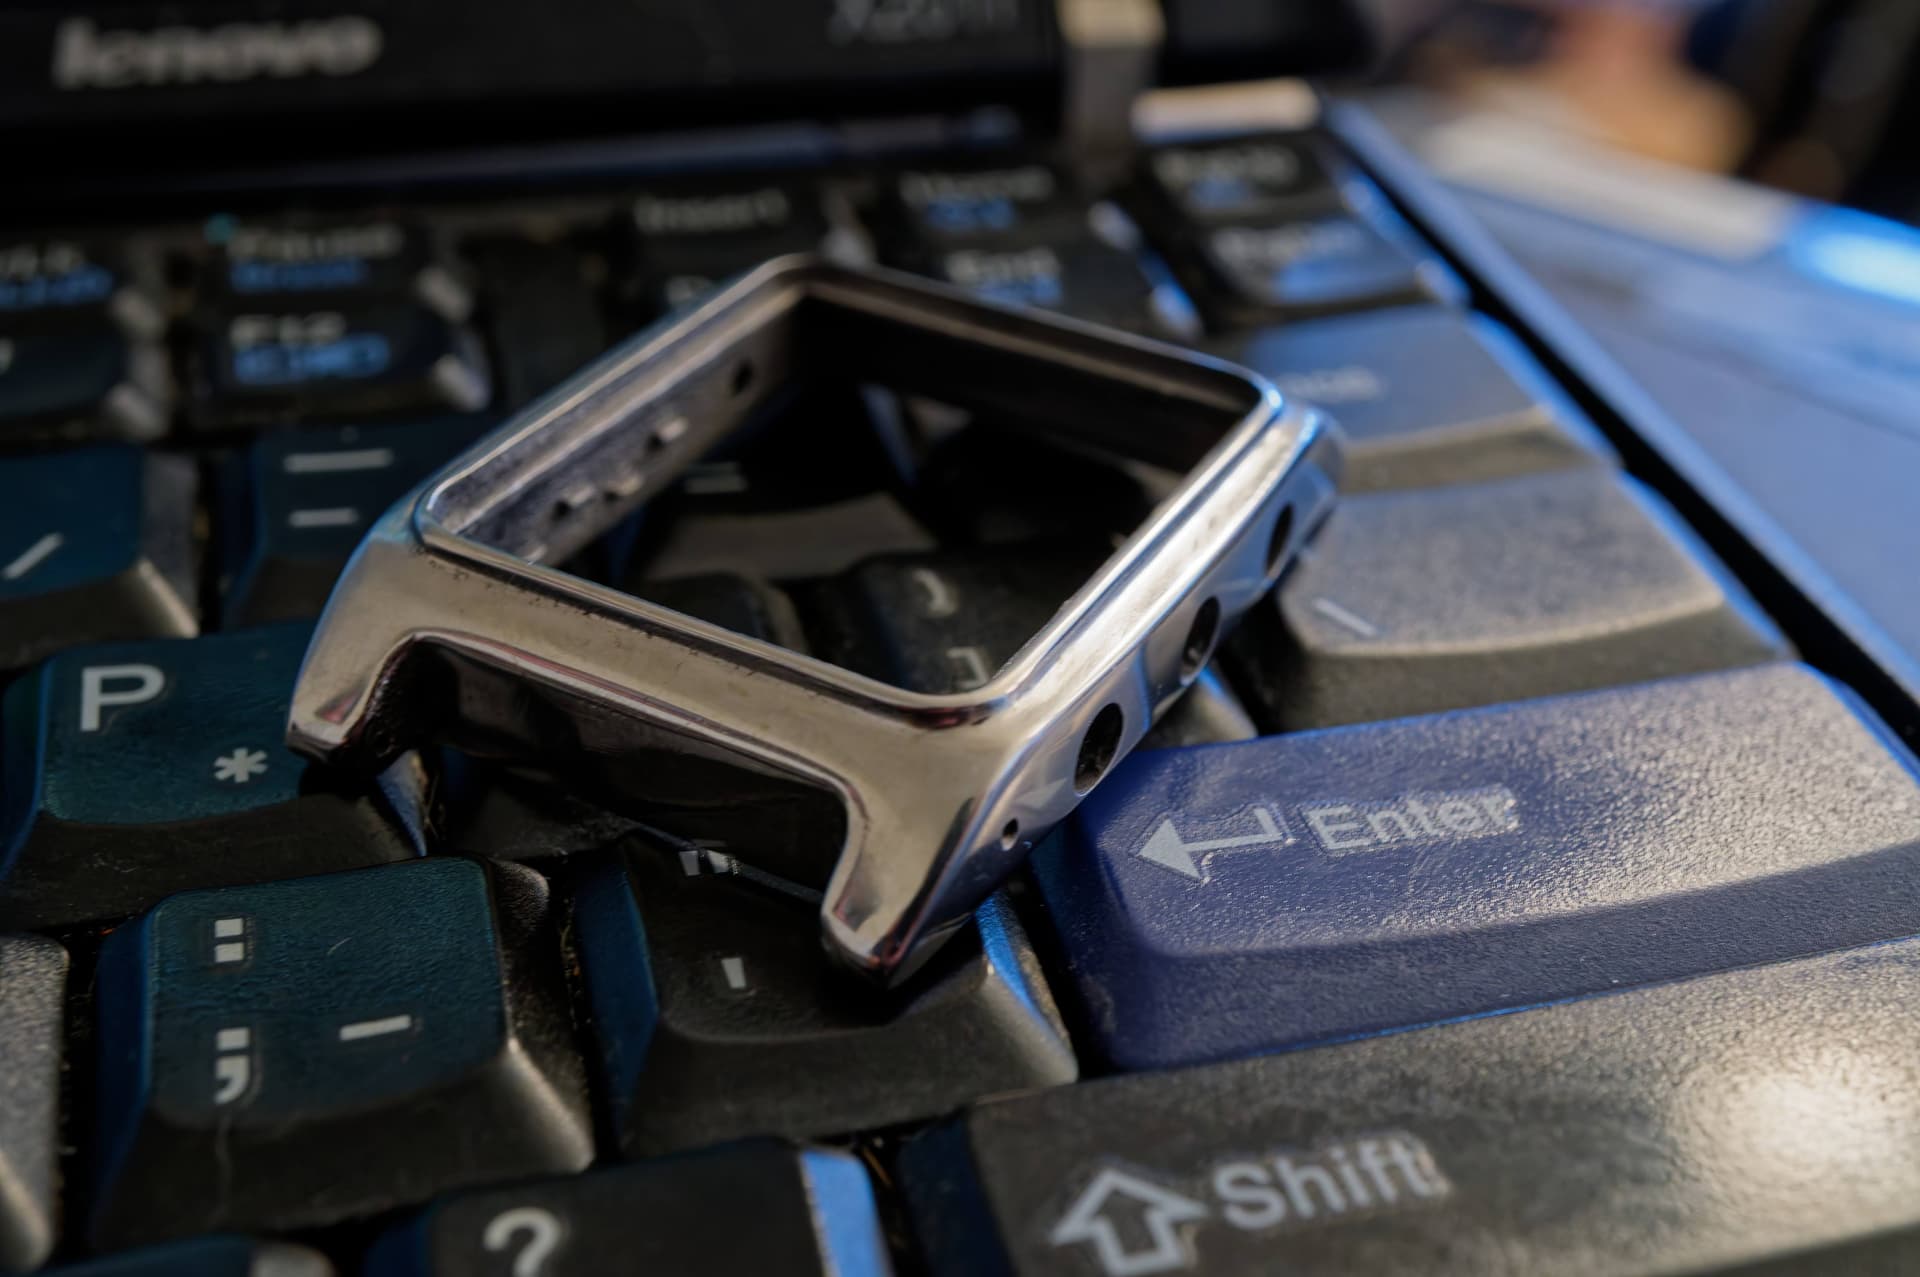
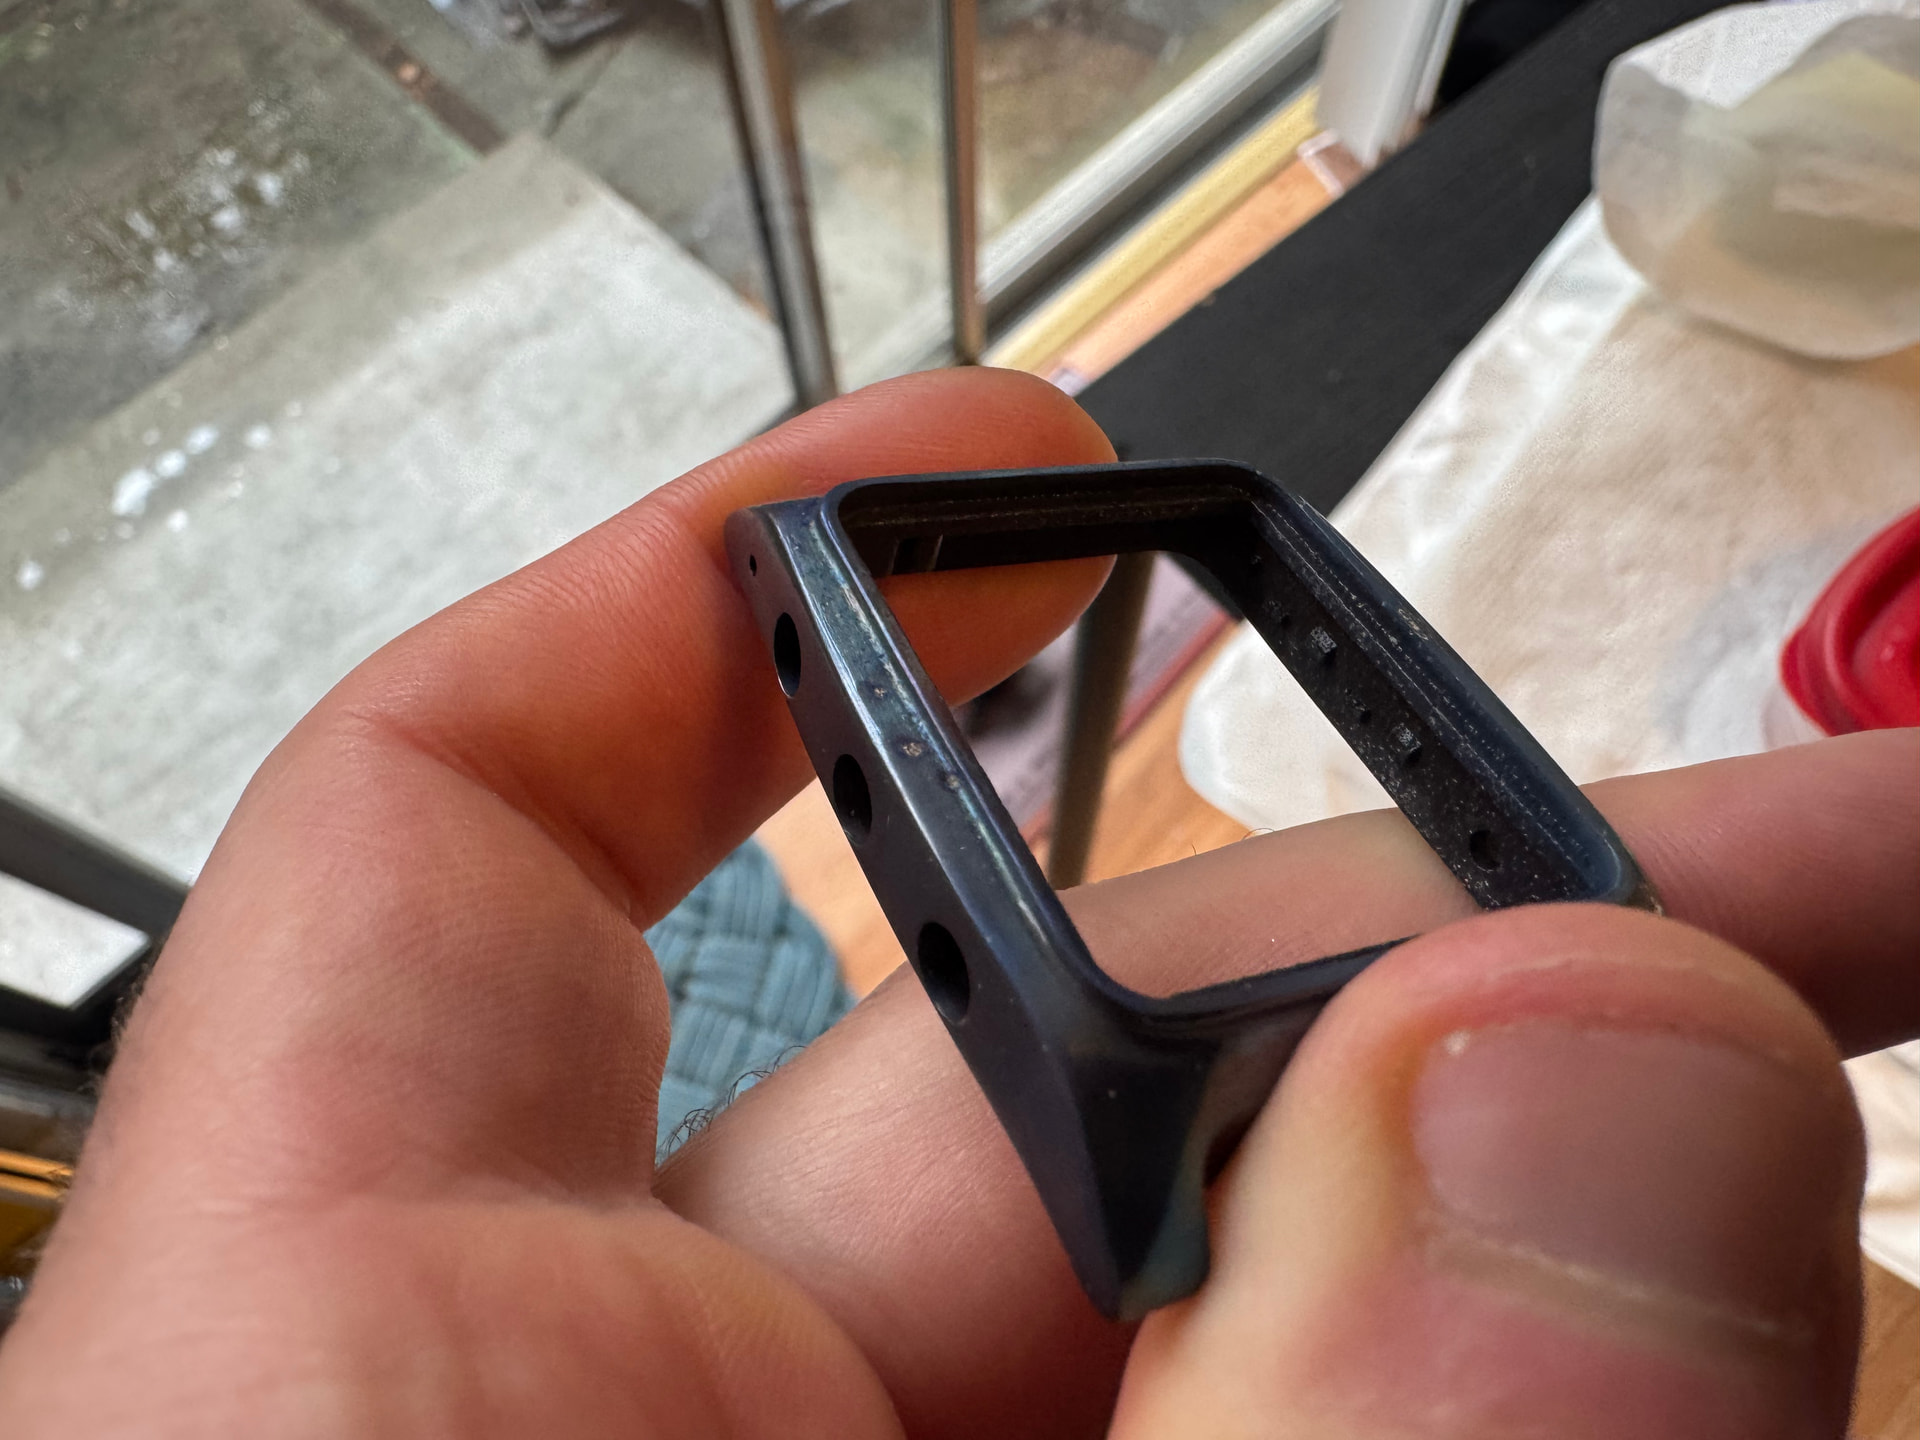
Discouraged, I was curious if the etching even did anything at all for contaminants. I tried something that I expected to bake in some pretty serious contaminants – I hit the part with a steel wire wheel to try to put a bit of a brushed surface finish onto it. Then, I put it in the multi-etch with a heating pad under it, and let it sit for a few minutes. It did a very nice job of hazing the surface, which indicates to me that the etching process was doing something. Did it take down the steel? I took it upstairs, cranked the anodization current up to the moon, and gave it a shot.
The answer is: no! Apparently multi-etch really does not do anything against taking steel surface contaminants out, and instead just pulled oxides off. Kind of a disappointment, but also, it’s good to know what it’s capable of!
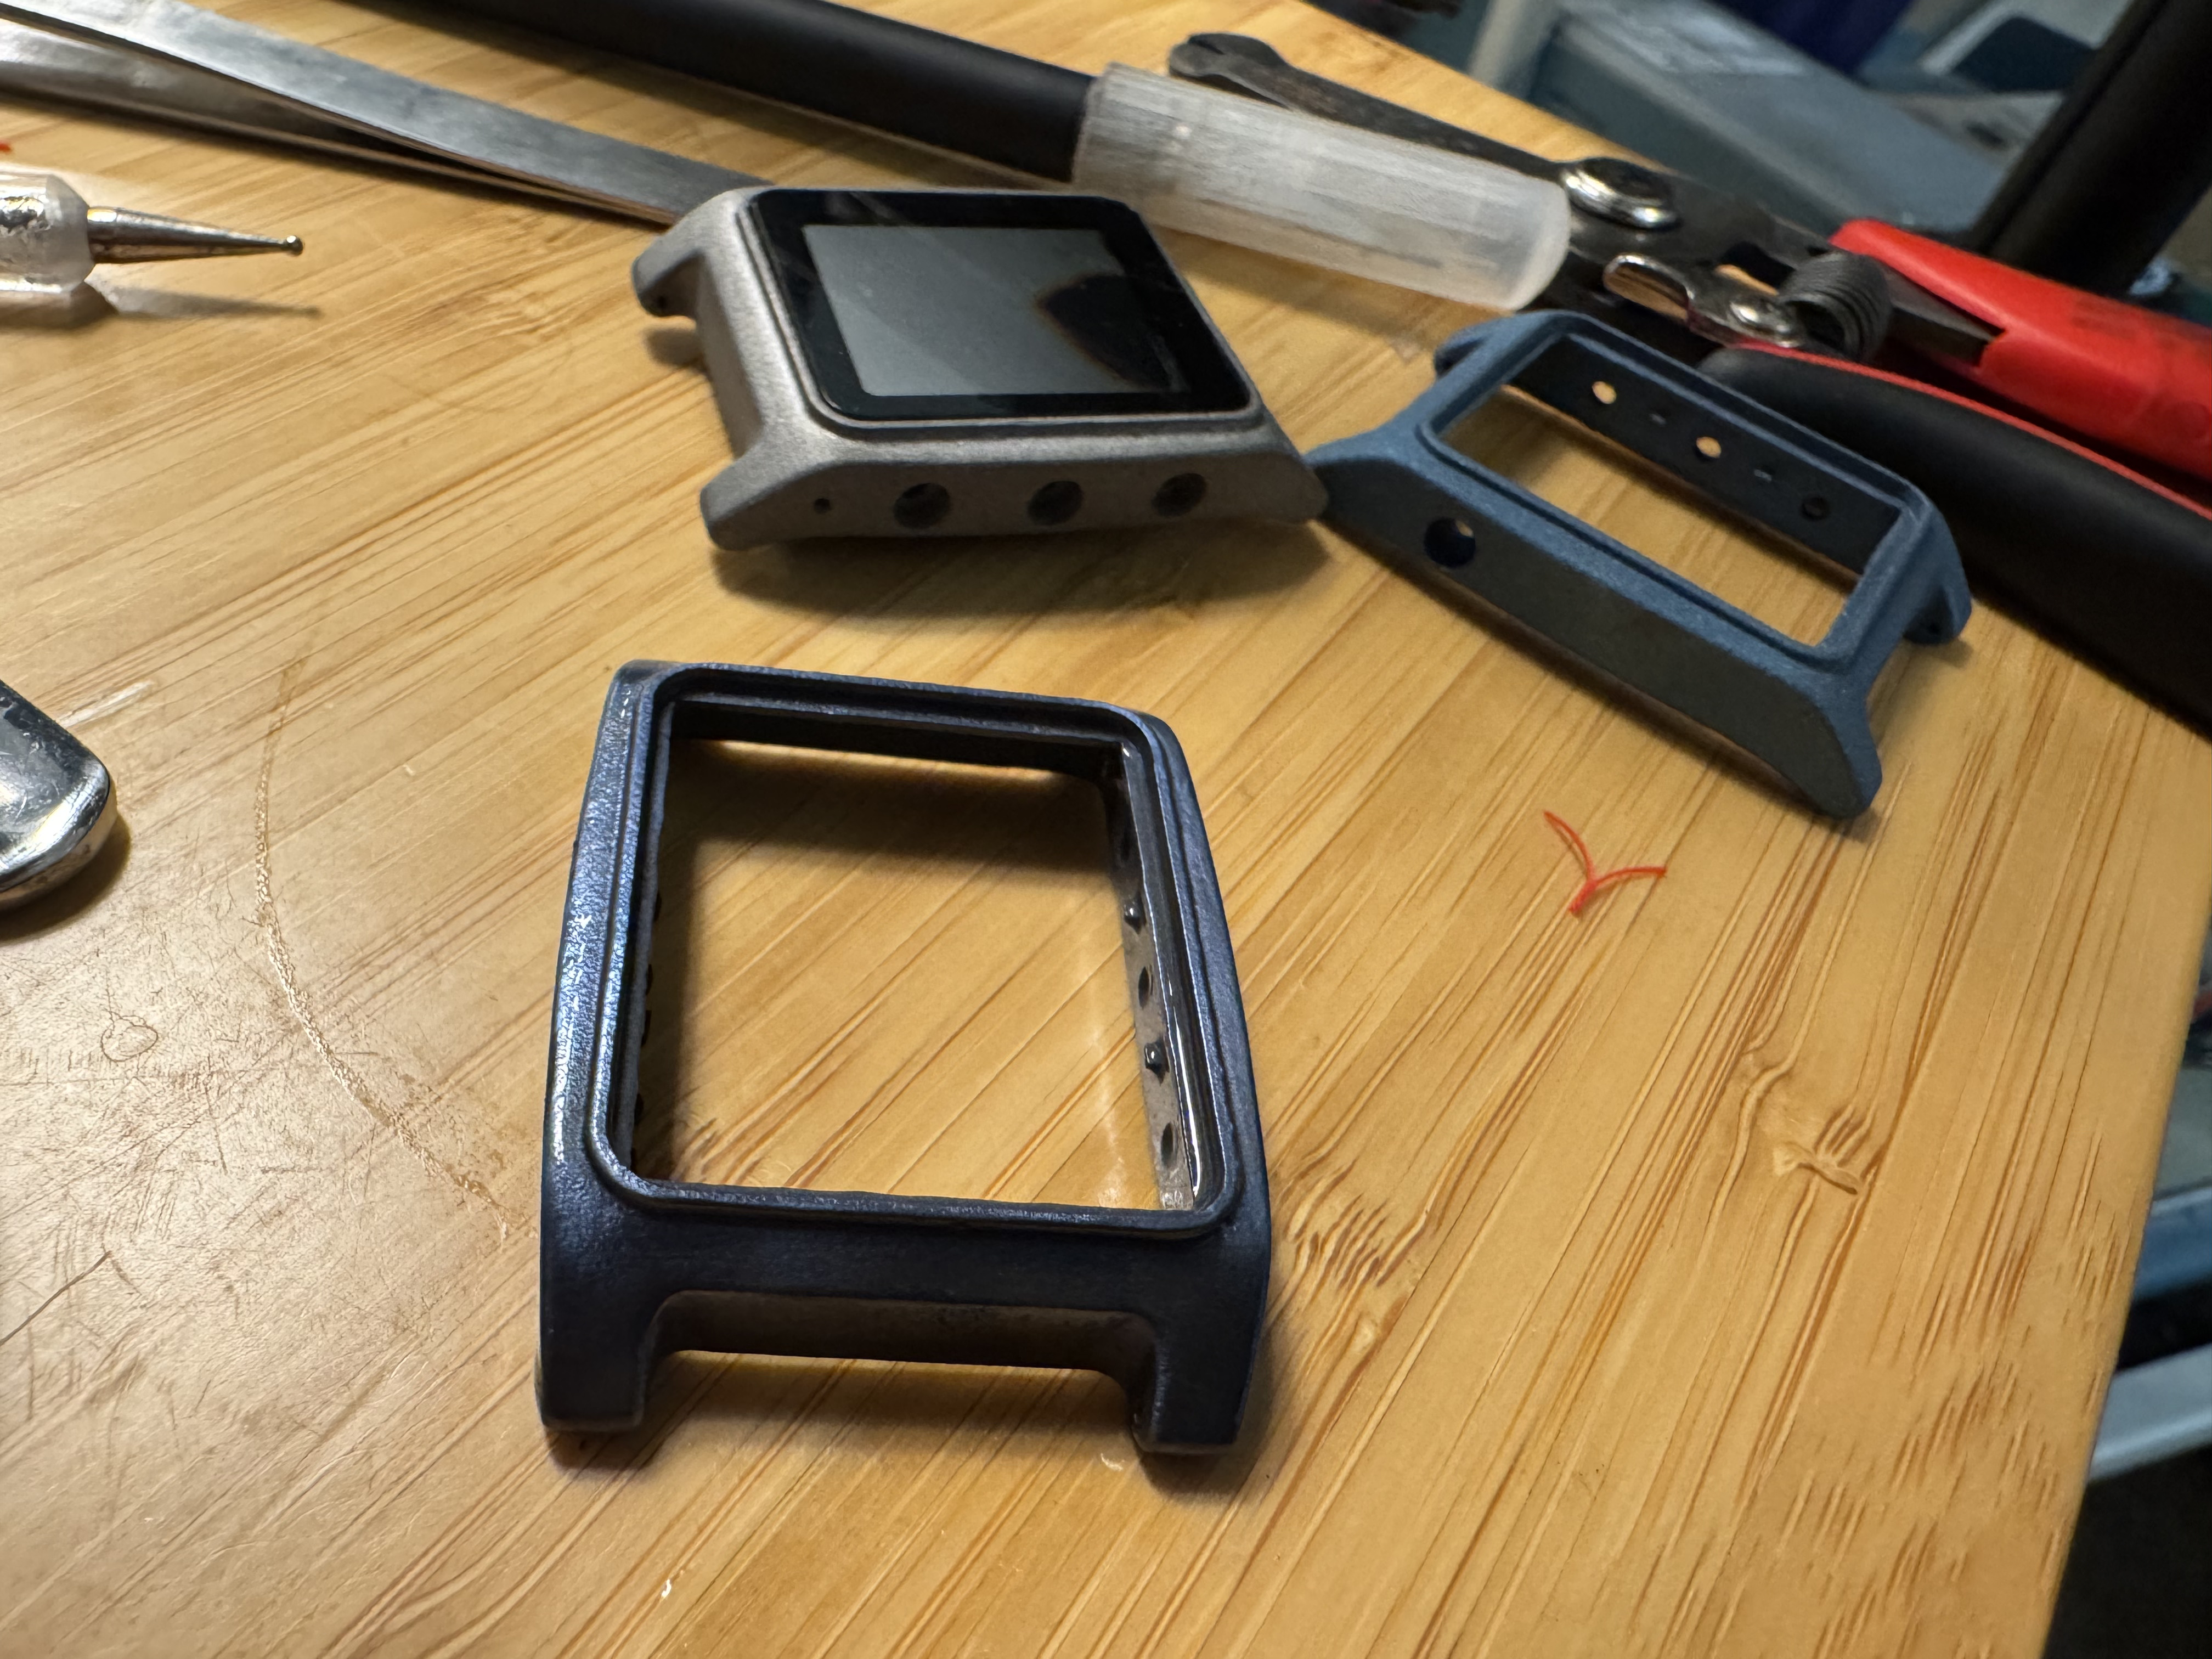
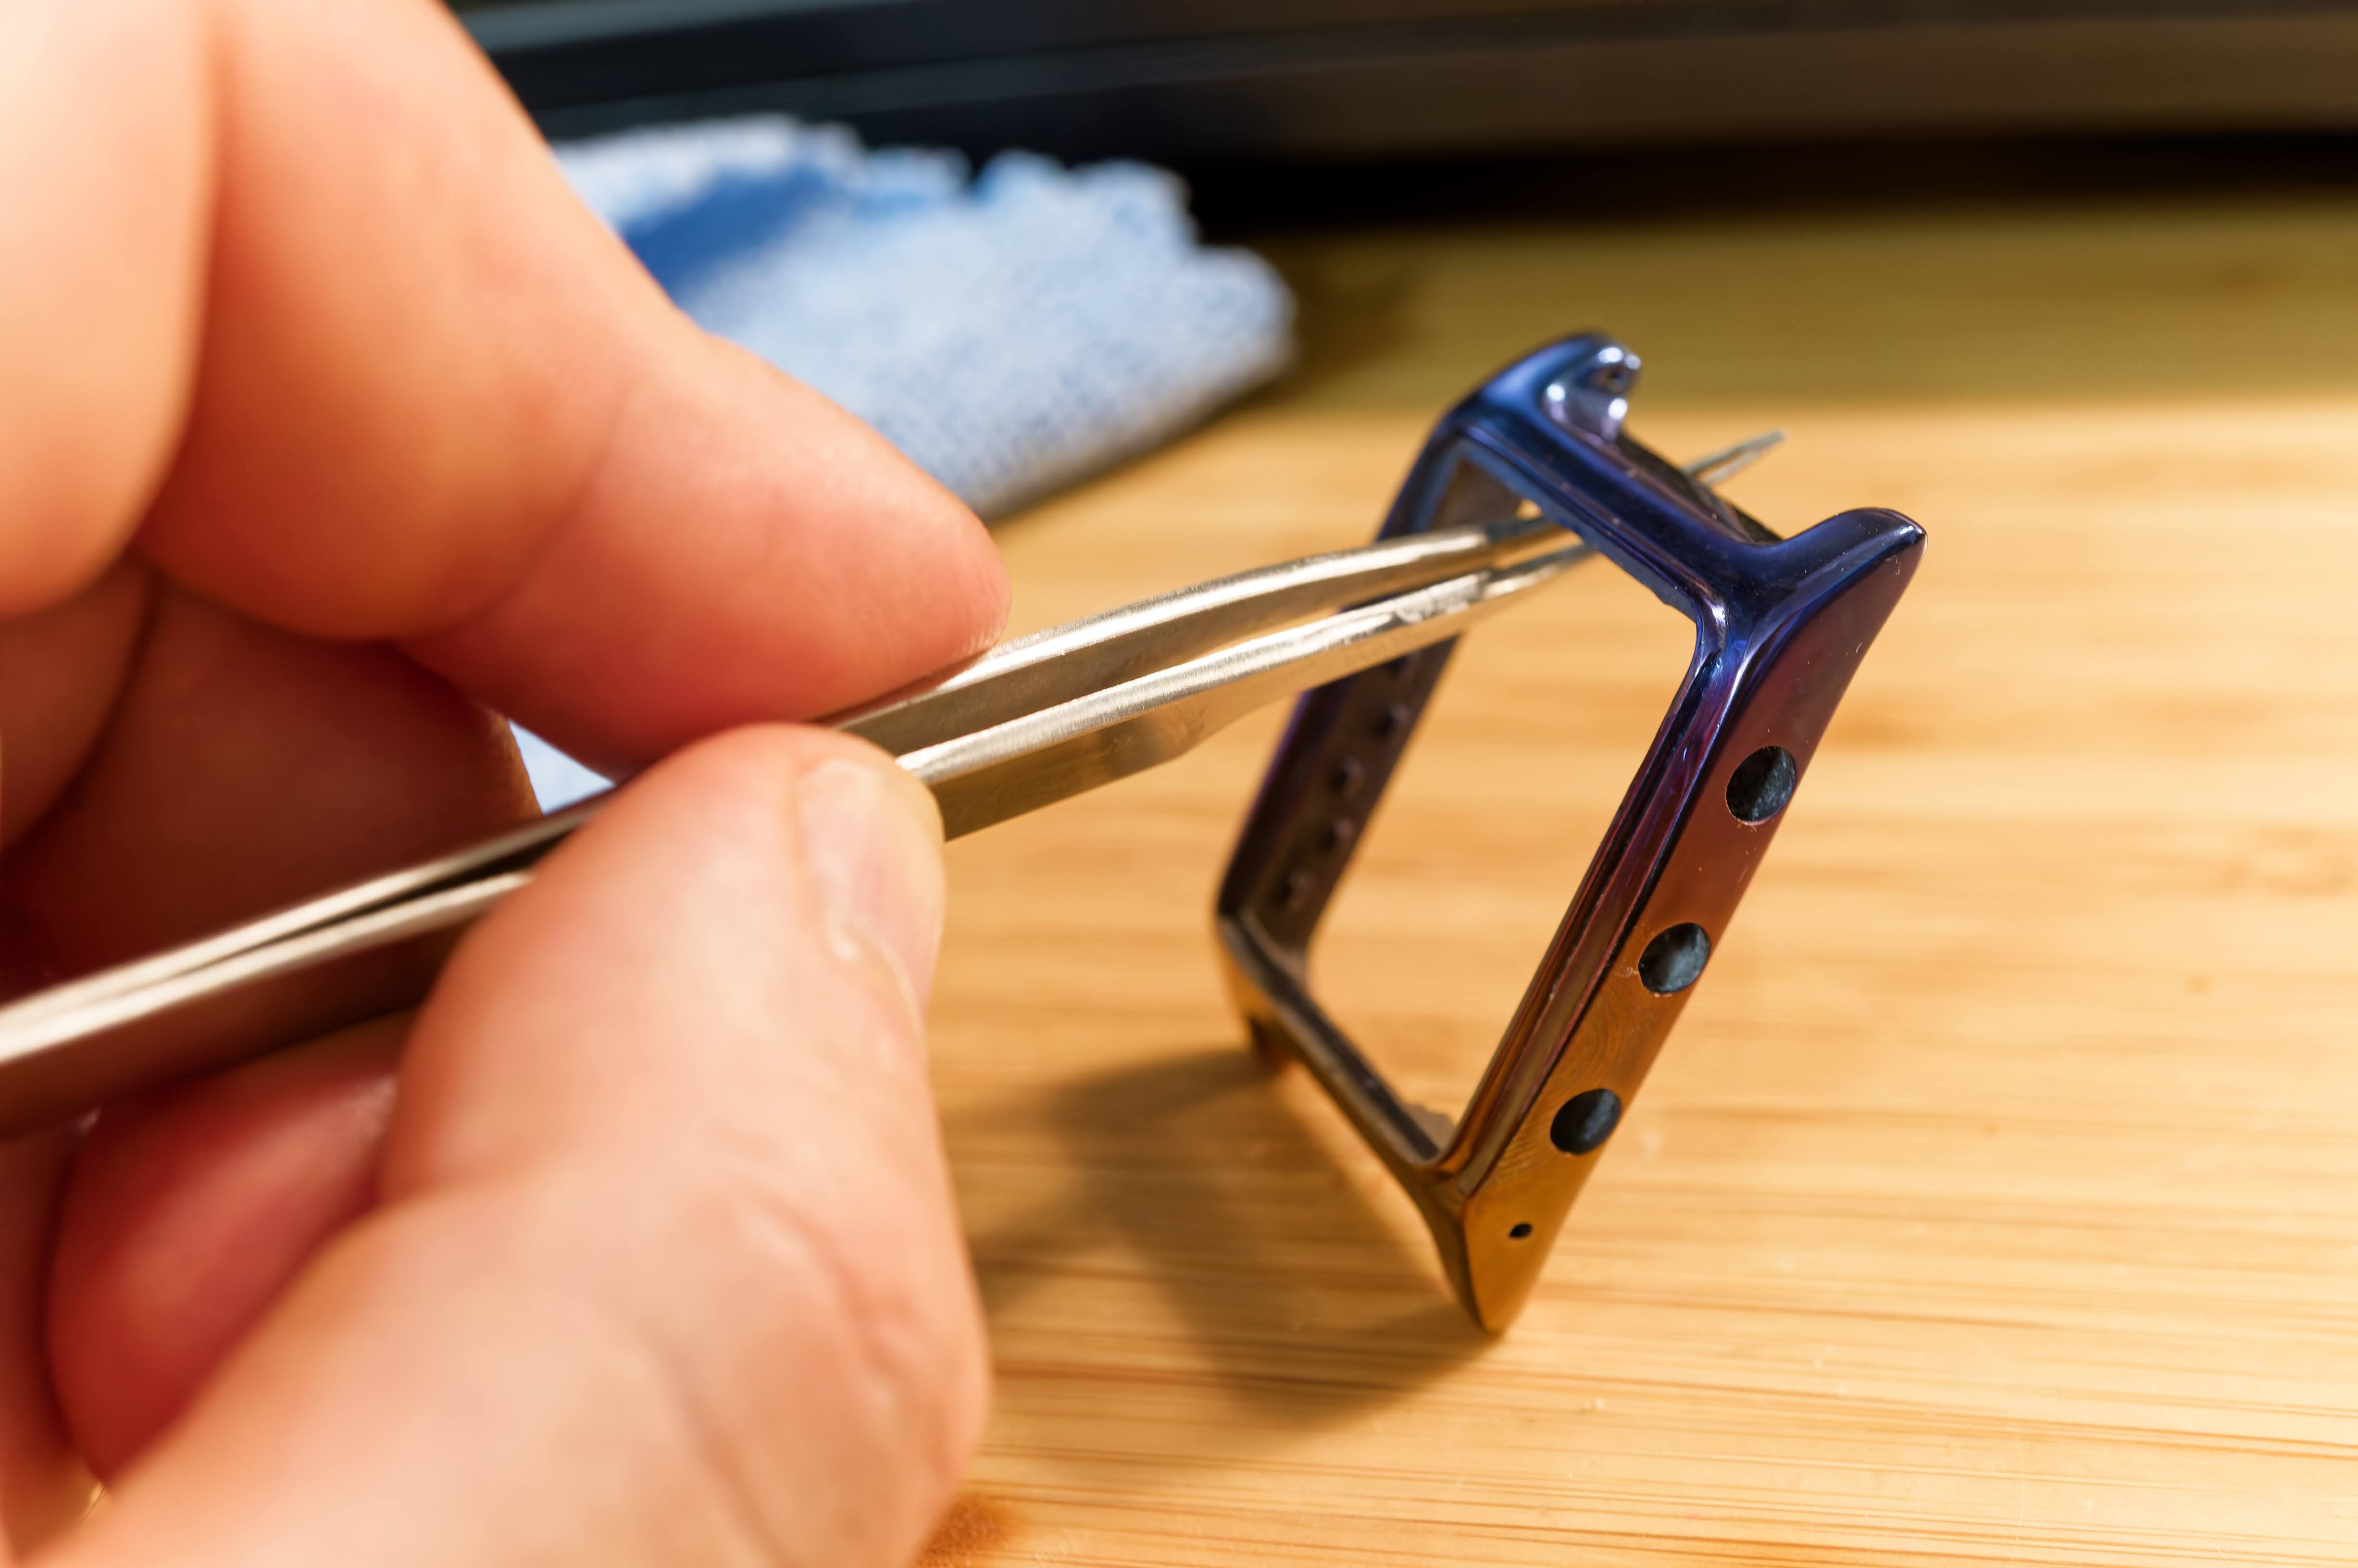
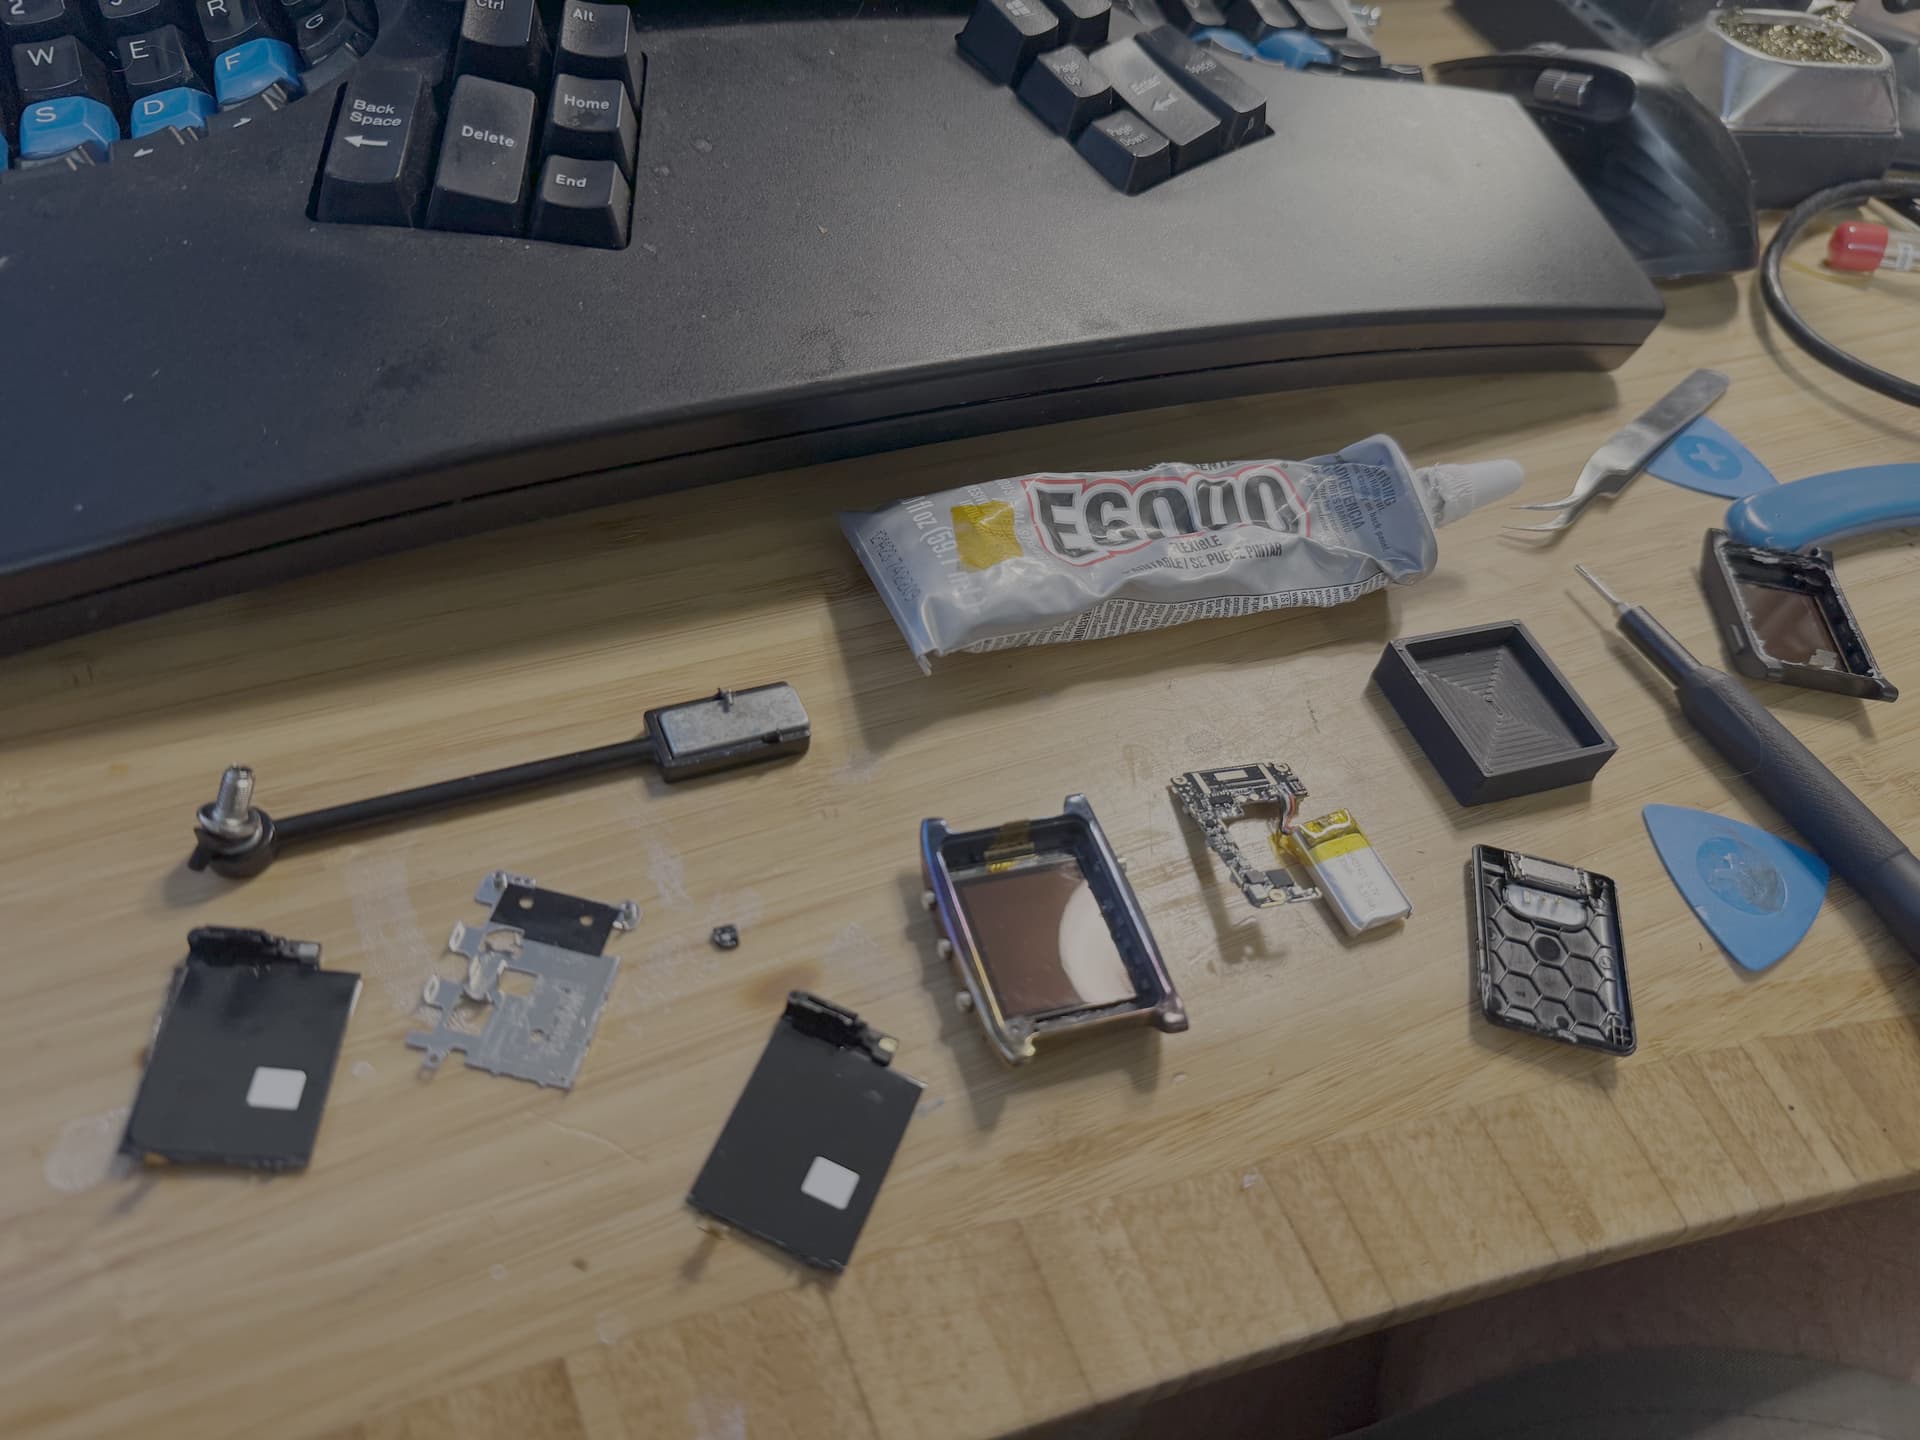
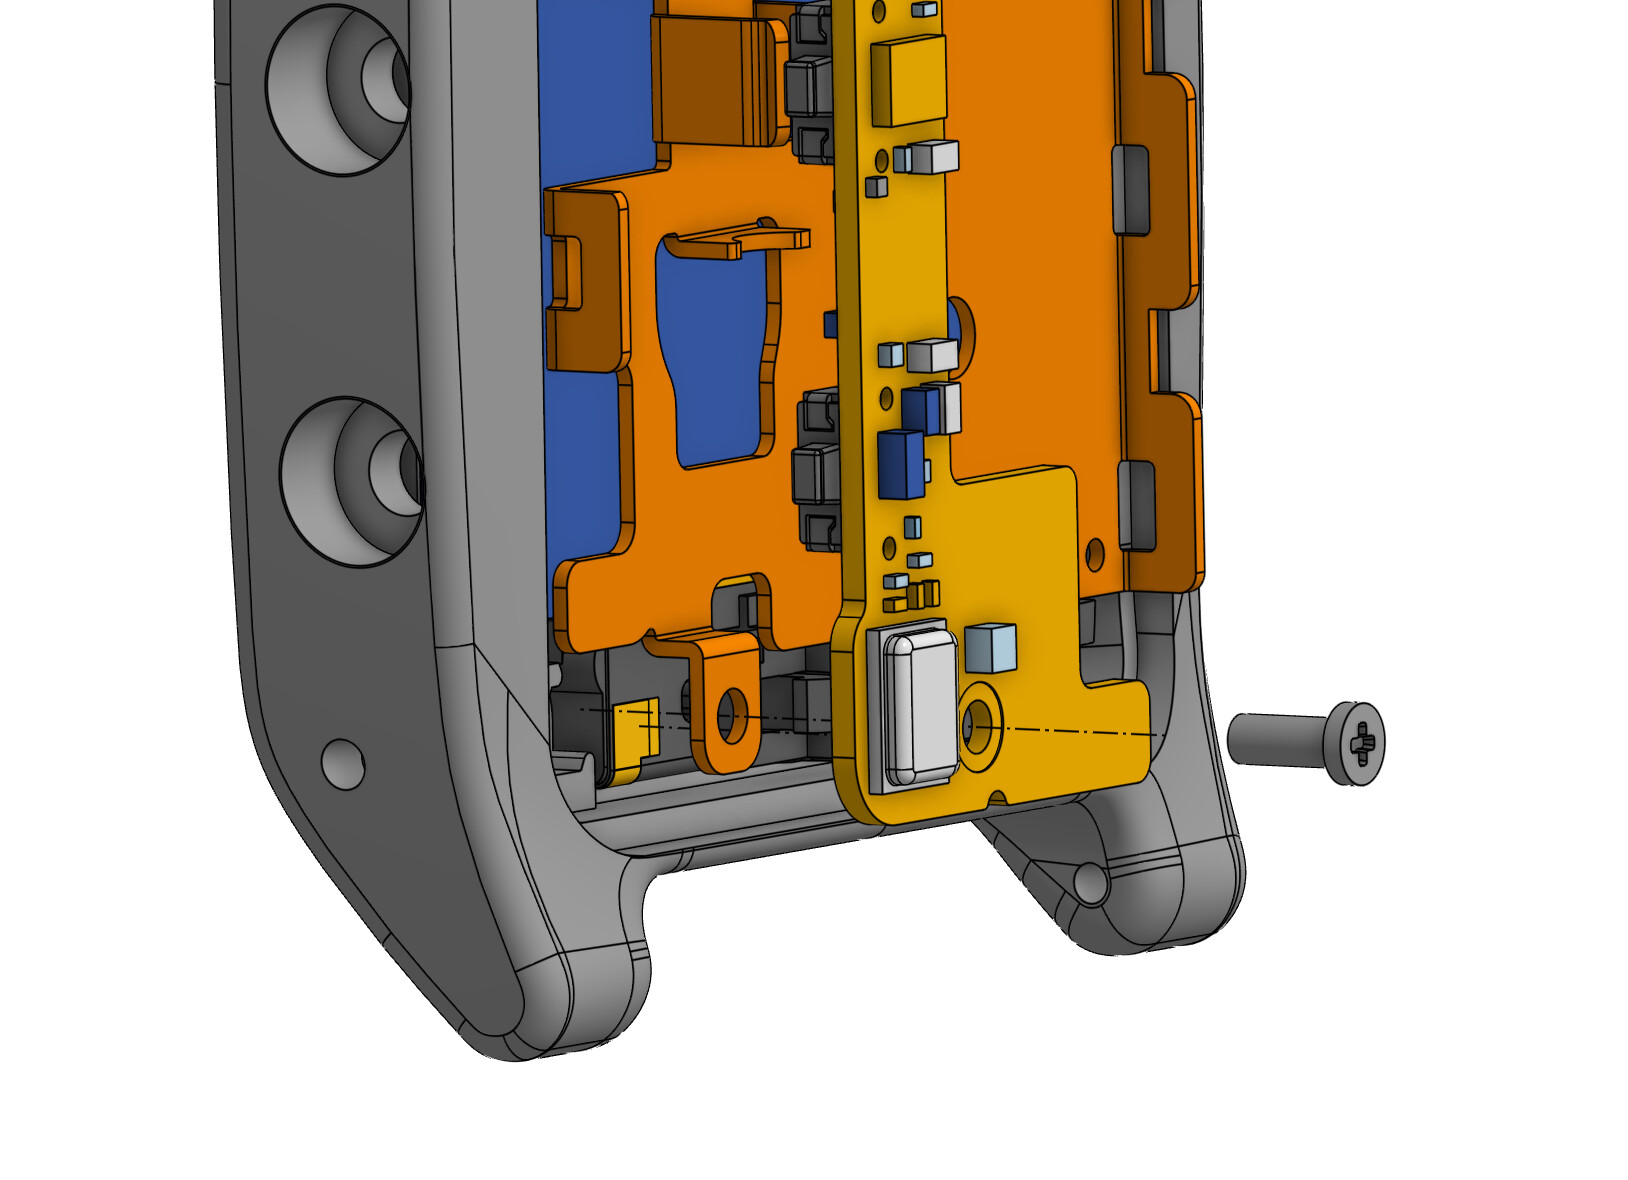
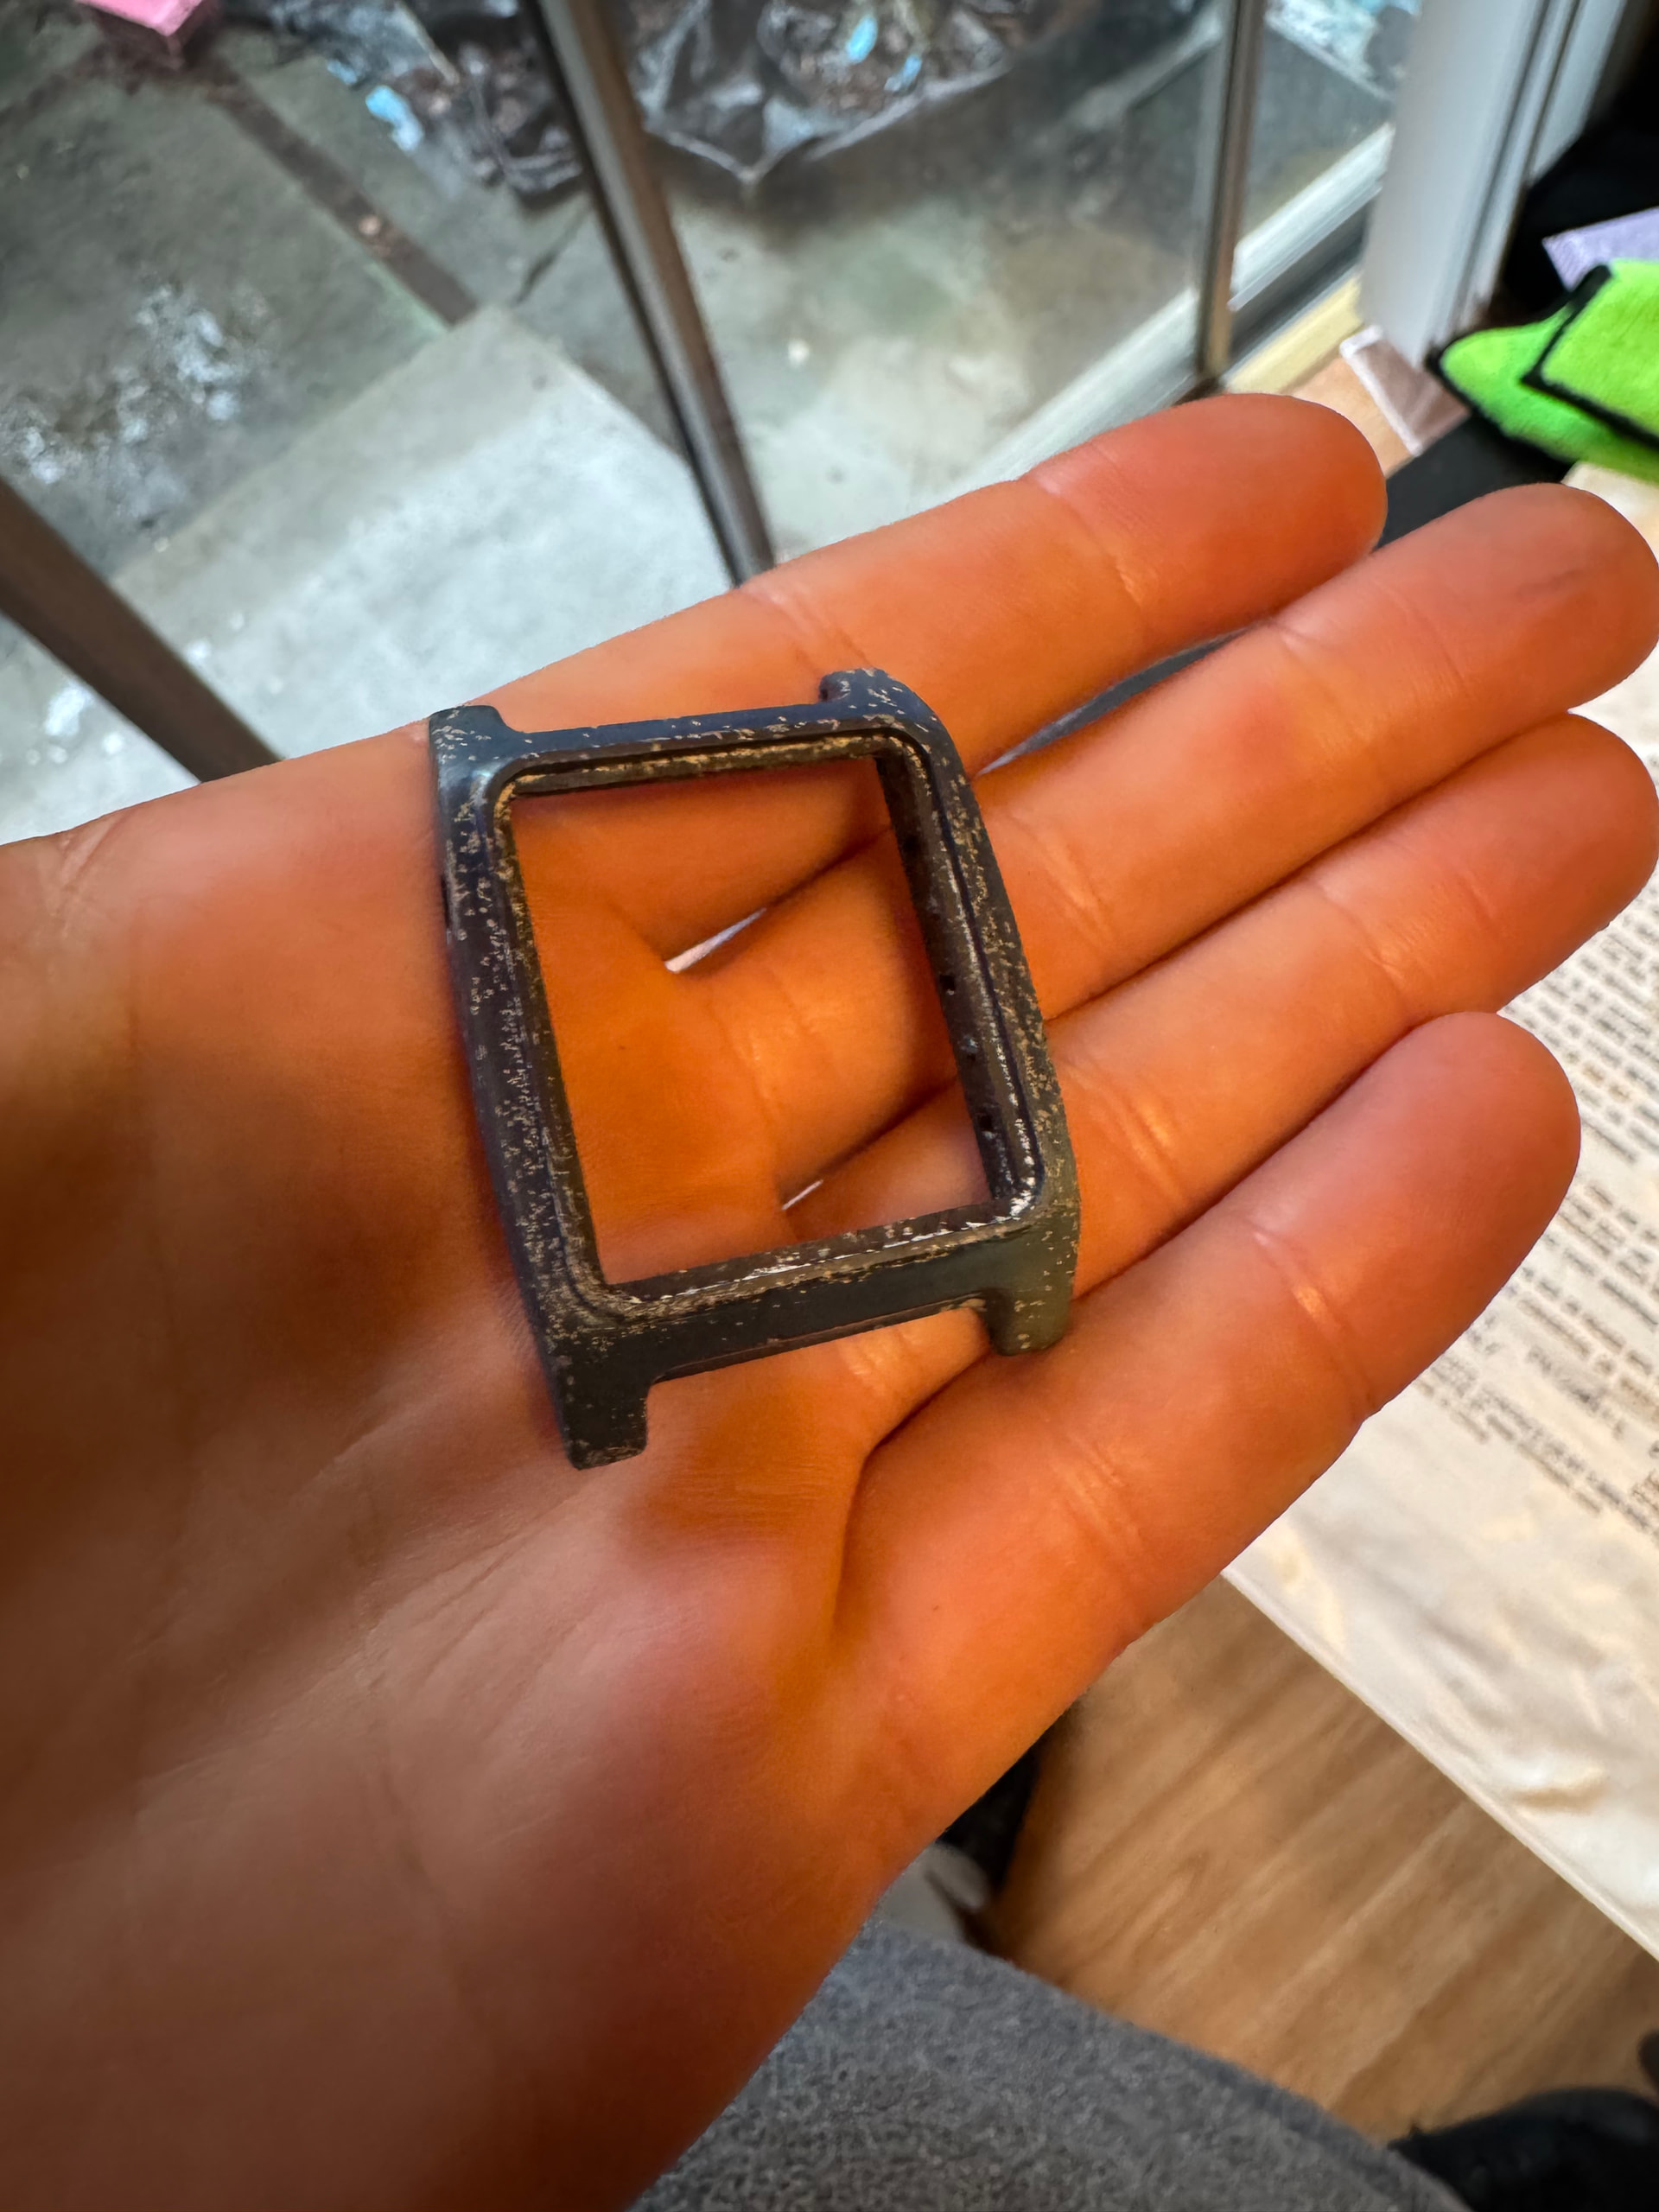
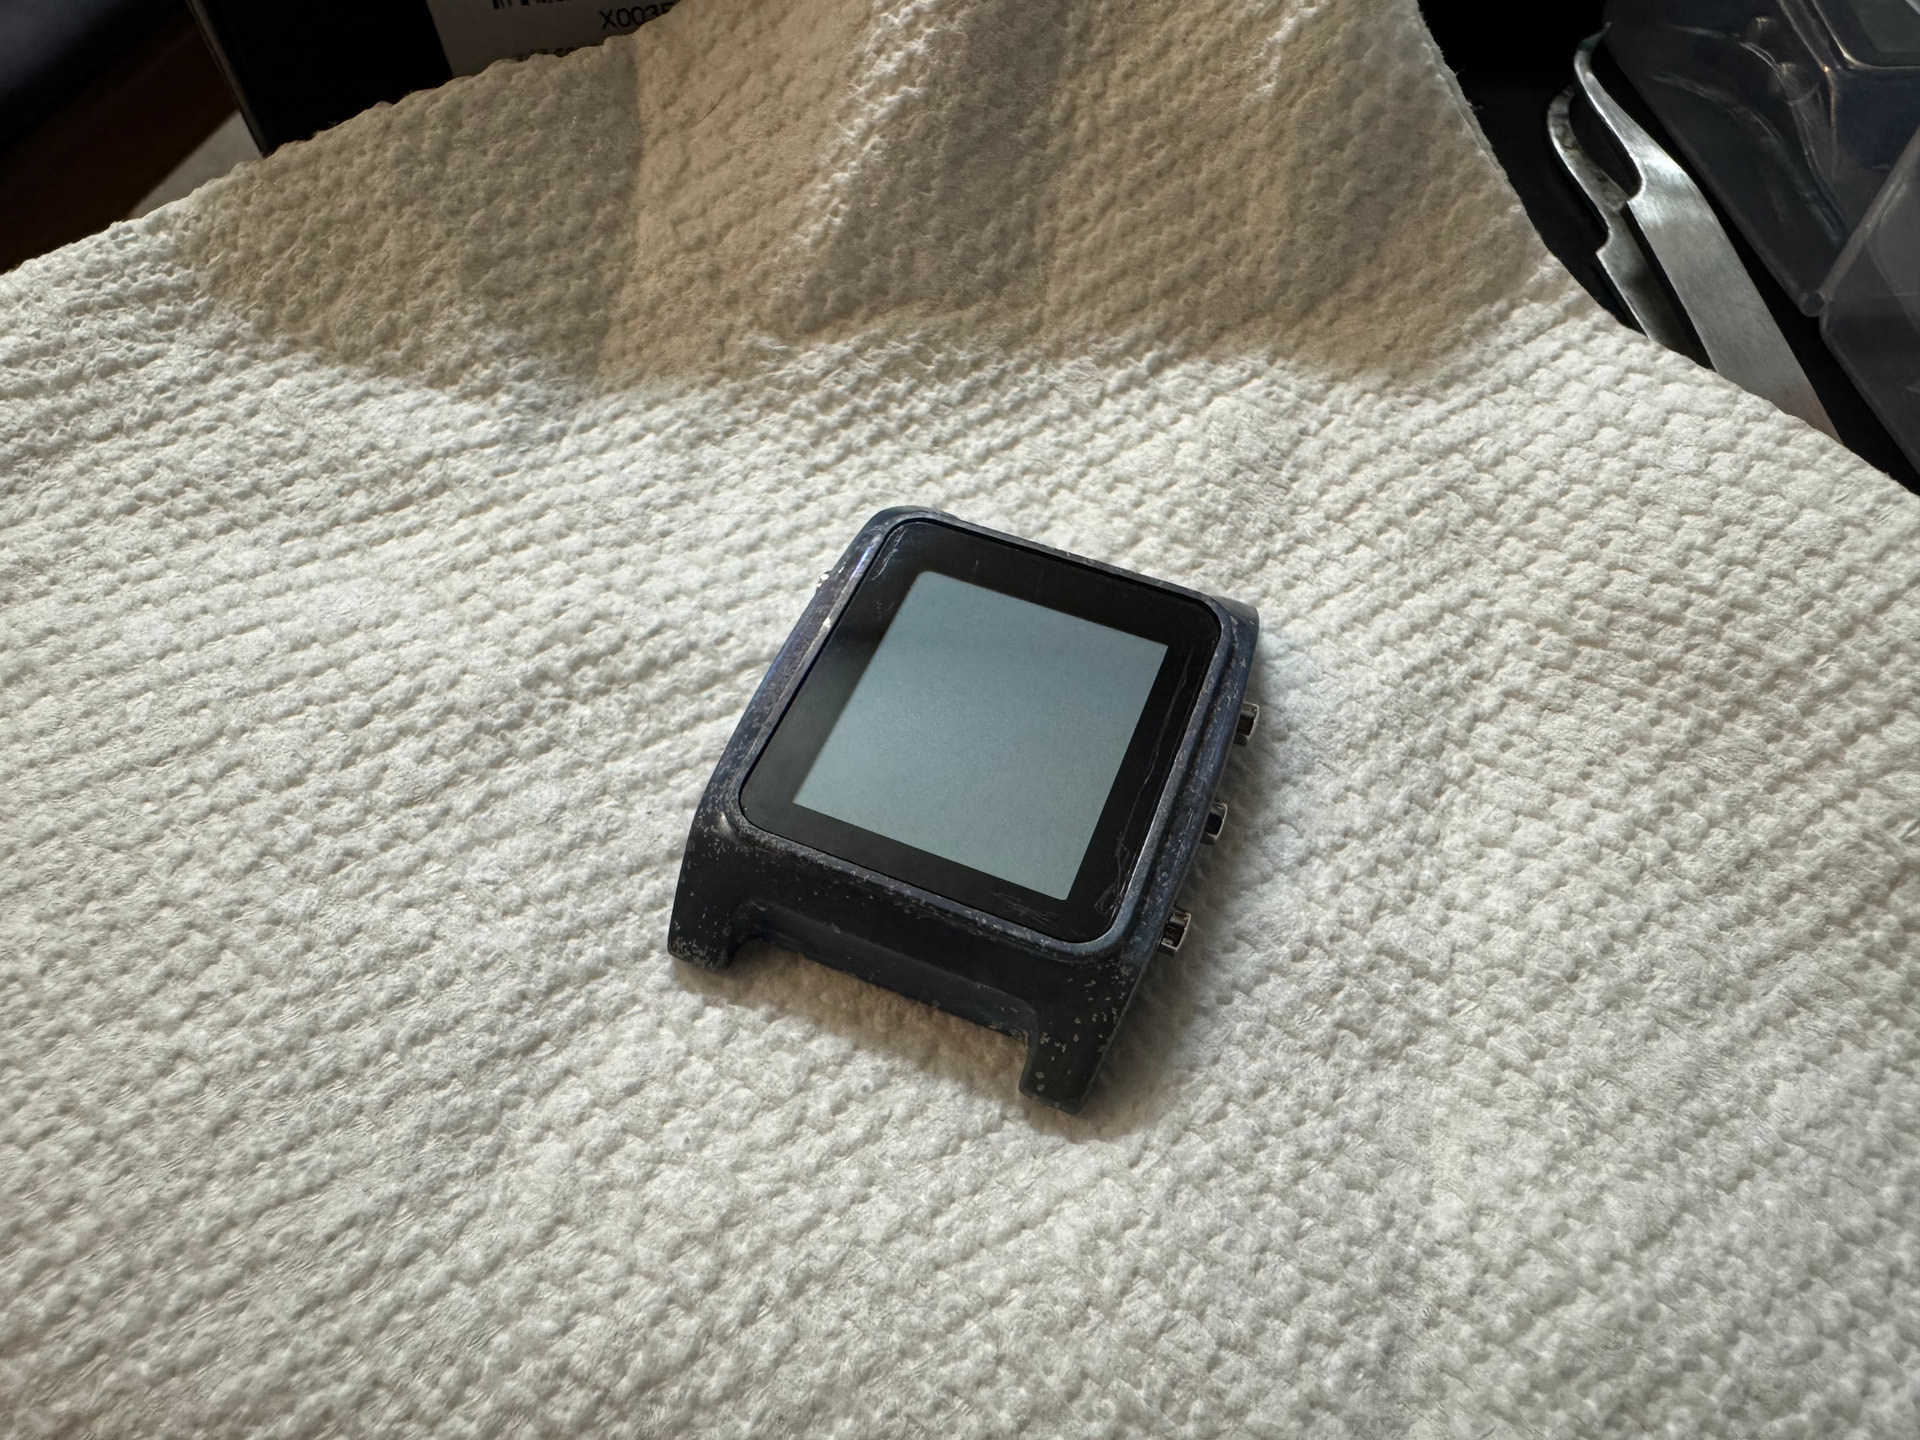
Having one scrap unit at my desk (well, ok, maybe this was the “starry night” surface finish?), I grabbed the new bottle of Loctite 680 I had at my desk, and glued in the buttons.
If nothing else, that part came out ok. The new buttons fit, and are retained well by the compound!